Spotify is a music streaming service where you can listen to millions of songs from different parts of the world. You even get Radio and Live podcasts from different categories like Educational, Music, Games, Lifestyle, etc. In the Spotify app, you can easily find the songs based on your mood, genre, and activity. As the app is user-friendly, you can create your own playlist and add your favorite songs to listen to them later in offline mode. Spotify works on various streaming devices, including JVC smart TV. The following guide will show you the way to install the Spotify app on JVC Smart TV.
Subscription plans: Premium plans cost $9.99/month. You could stream Spotify for free with limited ads. Click here to sign up for Spotify.
Contents
How to Install Spotify on JVC Smart TV [Android OS]
[1] Turn on your JVC smart TV and connect it to an internet connection.
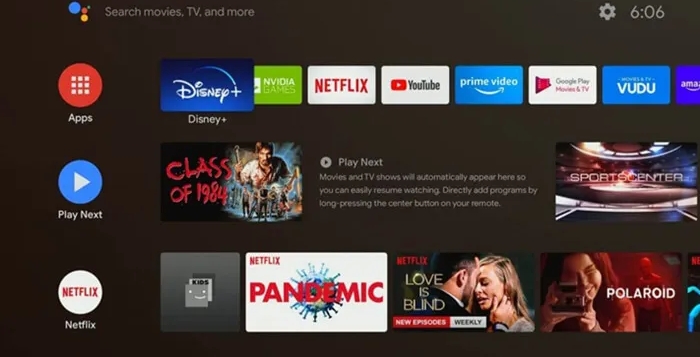
[2] On the home screen, go to Play Store and then select it.
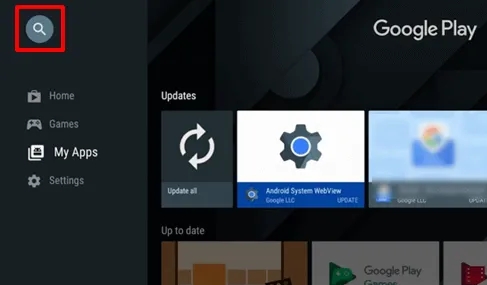
[3] Select the Search icon and type Spotify to search for it.
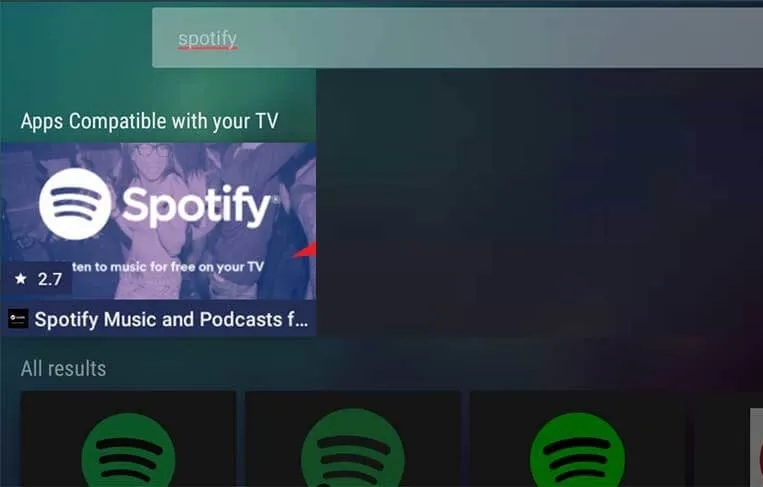
[4] Spotify and its related apps will appear on the search result. Choose the Spotify app from it.
[5] Tap the Install button from the app’s description page to start installing the app.

[6] Once installed, click Open and Sign in to the Spotify account.
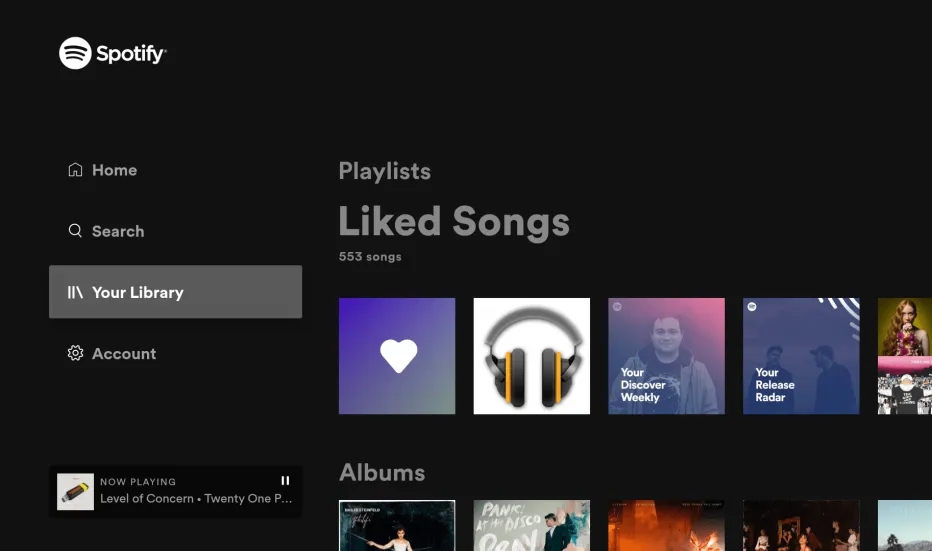
[7] The Spotify home screen will appear on your JVC Smart TV, and start listening to your favorite songs.
Techowns Tips! A simple guide to get Spotify premium for free.
How to Install Spotify on JVC Smart TV [Roku OS]
[1] On your home screen, click Streaming channels.
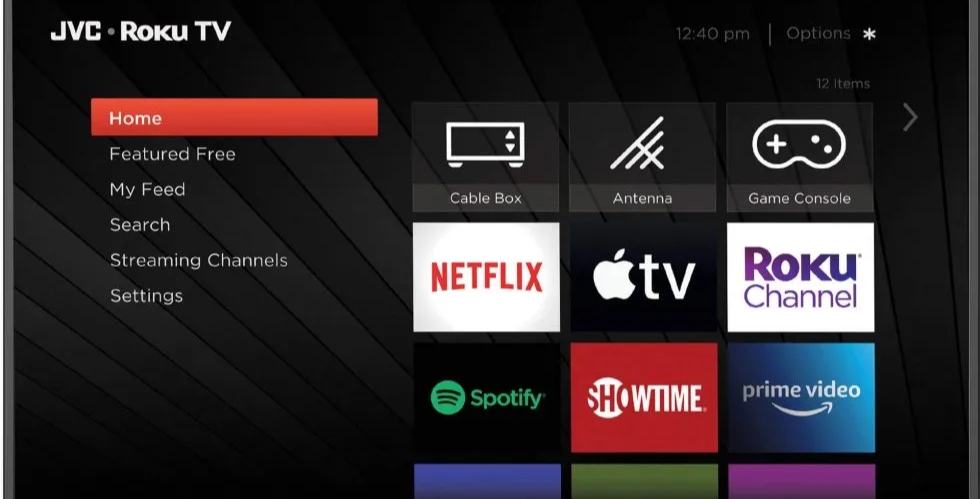
[2] Select the Search Channels option.
[3] Type Spotify on the search bar.
[4] Select the Spotify app from the suggestion list and click on the Add Channel button.
[5] Tap Go to Channel to launch the Spotify app.
[6] Sign in with your Spotify account and start listening to your favorite music.
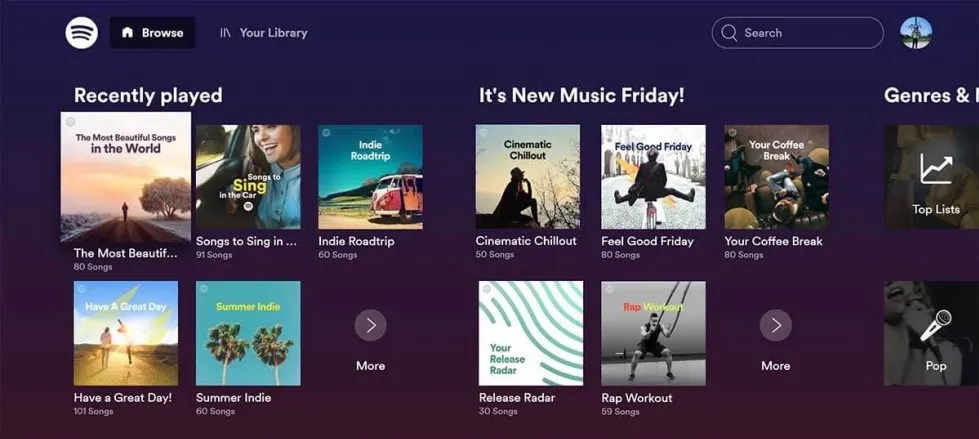
With the above methods, you can easily install and listen to Spotify playlists on JVC TV. In general, JVC Smart TVs comes with either Android or Roku operating system. Depending on the operating system, select the installation method you want.
If you have any doubts related to this tutorial, let us know in the comments section. Follow Techowns’ Facebook and Twitter profiles to stay connected with our tutorials.


