Nintendo Switch is one among the ideal hybrid video gaming console. It supports playing online games through internet connectivity. With the wireless Joy-Con controllers, the users can play video games effortlessly. One of the most notable features of Nintendo Switch includes the ability to record gameplay as video clips. This way, the users can capture the gameplay moments that are worth sharing. Nintendo Switch supports recording and saving up to 100 video clips provided you have enough storage space on the console. Upon recording the gameplay as video, you can copy it on your SD card for further use to share or stream videos. It is also a better option to share your achievement with others over social media. To proceed with this, anyone should need to know how to record Nintendo Switch and the same is covered in this section.
Contents
List of Games Compatible with Video GamePlay Recording
As of now, not all of the Nintendo games lets you record the gameplay. It is limited and is available on the following titles.
- ARMS
- Splatoon 2
- Mario Kart 8 Deluxe
- Super Mario Odyssey
- The Legend of Zelda: Breath of the Wild
Note: It is important to keep any of the titles up-to-date with the latest titles.
How to Record Nintendo Switch?
Recording the game play while using the Nintendo Switch is a one step process.
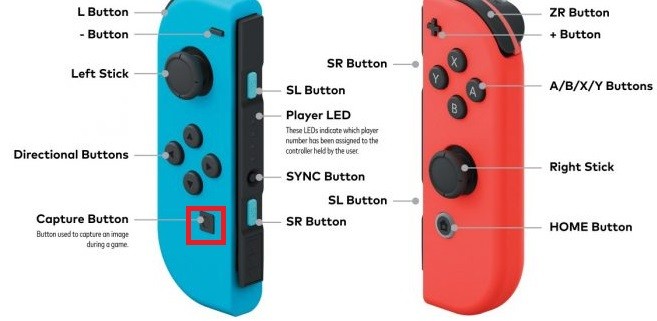
(1). Long press the Capture button on the left Joy-Con.

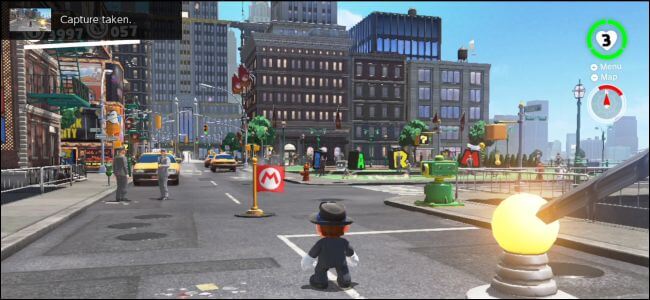
(2). Wait until Saving message that appears at the left corner of the screen.
(3). When a video gets saved, you will see Successfully saved.
FYI! It is the square button with an indented circle that is located under the directional pad on the left Joy-Con. On the Switch Pro controller, it is present at the opposite of the home button.
Upon holding the button, it will record the gameplay for about 30 seconds automatically. You need not hold the button for 30 seconds rather a long press will do it.
FYI! A quick tap will capture a screenshot on Nintendo Switch.
How to View Recording on Nintendo Switch?
Once after the video gets recorded, you will be able to view the recording. Get to know the steps to view it.
(1). Go to Albums on the home screen.
(2). The recording will be available along with the screenshots. Just look for the clips represented with the 30s in the bottom right corner of the thumbnail.
Note: To see the video clips, press Y to pause the video. Click on Videos only from the drop-down to filter the library.
(3). Click on the recording and it will open and play automatically.
How to Edit or Trim Saved GamePlay on Nintendo Switch?
If you want to edit the recording that you have captured, the Nintendo Switch supports it. Just follow the steps given below.
(1). Choose Album in the HOME menu.
(2). Select All Screenshots and Videos option.
(3). Choose the video recording that you want to edit and click on Editing and Posting.
(4). Select Trim and slide the left marker to adjust the start of video.
(5). Press Next and then slide the right marker to thereby adjust the end of video.
(6). Once done, click on Save and it will be saved as new video.

Note: Nintendo Switch supports taking a screenshot on the ongoing recording. Press Y to pause the video and then choose Editing and Posting. Select Save as Screenshot.
Our Opinion
Recording the gameplay as a video clip on Nintendo Switch is that easy to do. It is important to remember that the video capture is currently limited to the consoles with system menu version 4.0.0 or later. Only limited software titles are compatible with video recording currently. However, we could expect more supported software titles in the near future.
Need any clarification regarding recording on Nintendo Switch? Ask for it in the comments below. Keep your tabs open on your Facebook and Twitter page to know the latest articles.


