NVIDIA Control Panel is a ubiquitous thing in all GeForce graphics cards. It is primarily used for accessing games and several other graphical rendering tools to improve its performance. NVIDIA provides control over NVIDIA graphics driver settings along with other subsiding utilities present in the system. Using this control panel, you can improve your gaming and rendering process quicker and smoother. So let’s see how to open the NVIDIA Control Panel on both Windows and macOS platforms.
Some of the most commonly used tool and features on the NVIDIA Control Panel are:
- Video zoom
- Change screen resolution
- Change video image settings
- 3D settings to the image preview
- Configure TV/HD format
- Ambient occlusion
- An Isotropic filtering
- Full-screen video display mirroring
- Edge-blending
- View HDCP status
- Configure the multiple Display configuration
Contents
Open Nvidia Control Panel in Windows PC
In Windows, there is more than one way to open the Nvidia Control panel.
From Desktop
[1] Right-click on the mouse from your Desktop.
[2] From the context menu, click on Nvidia Control Panel.
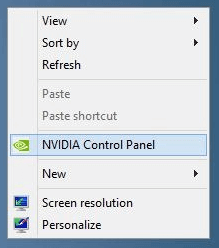
[3] Now, you can make changes to the Nvidia Control panel.
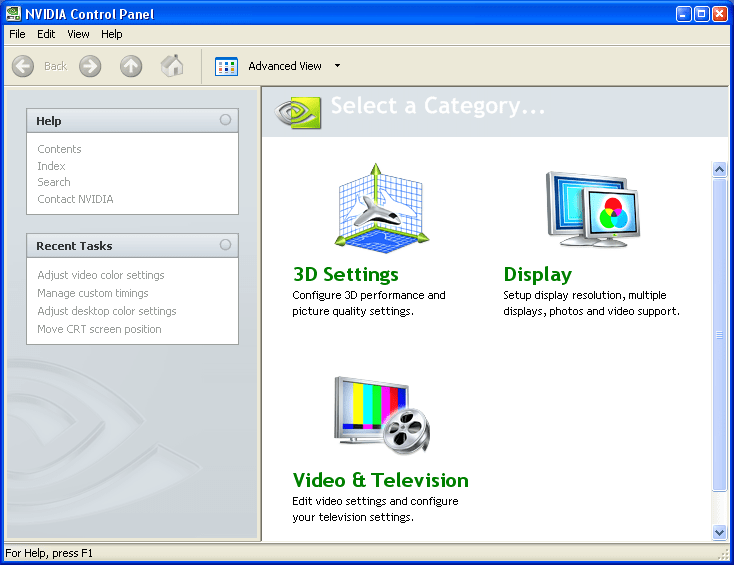
Techowns Tip – Best NVIDIA Control Panel Settings to boost your Game graphics and enhance gaming experience.
From Control Panel
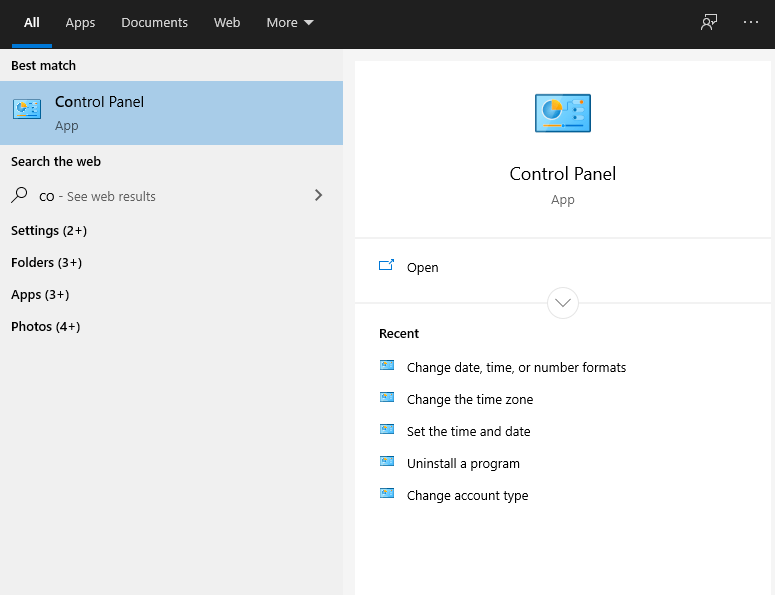
[1] Click on the start icon from the desktop or press the Windows key on the keyboard.
[2] Search and select Control Panel from the Start menu.
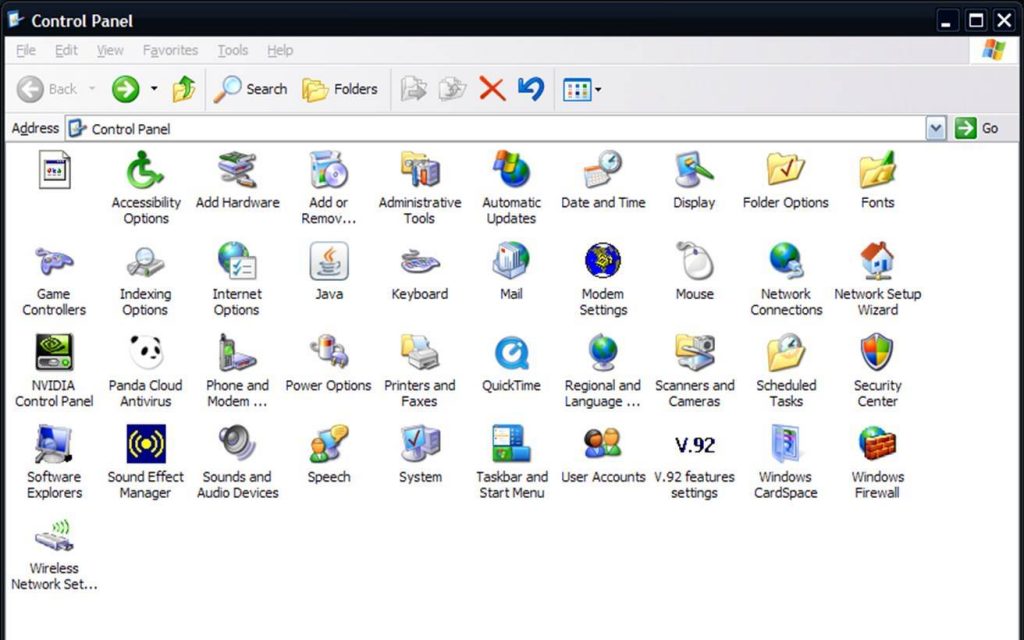
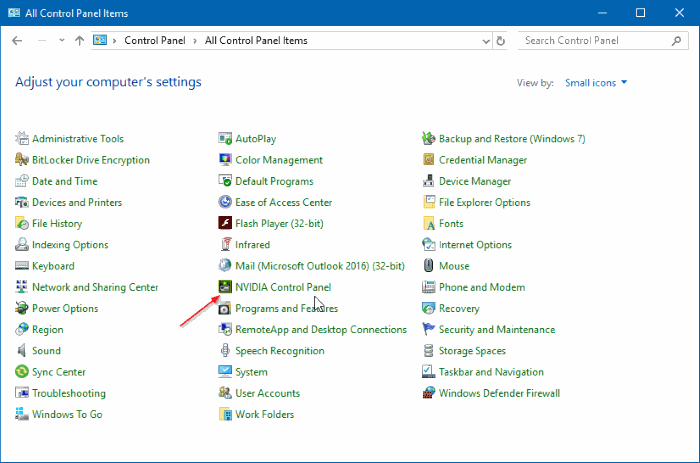
[3] Under the Control Panel, double-click on the NVIDIA Control Panel to view it.
Via Search
[1] Click on start and search (Windows XP and 7) or click on the Search bar near the start menu (Windows 8, 10, and above).
[2] Search for Nvidia Control Panel (or) you can also search inside Control panel if you can’t find.
[3] Click on the Nvidia Control panel from the search result.
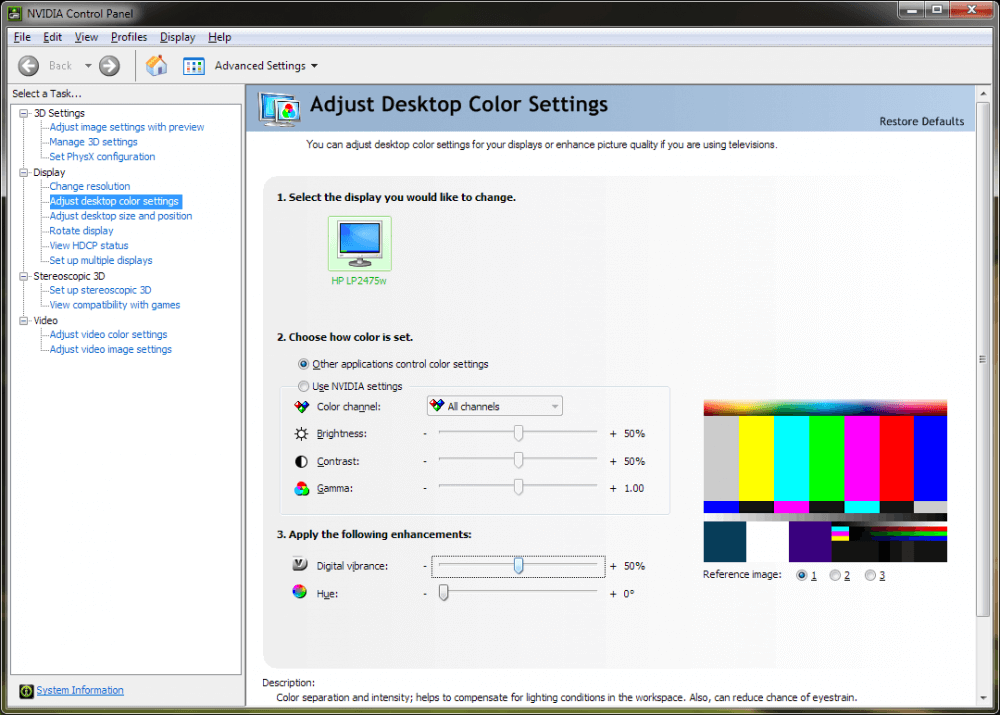
[4] Now, you can view or make changes in the Nvidia Control panel.
Update Nvidia Control Panel to Latest Version
You can easily update Nvidia drivers through GeForce Experience.
[1] Download and install the GEFORCE EXPERIENCE from the official website.
GEFORCE EXPERIENCE is an integrated application that allows you to capture and share gameplay, screenshots, add filters, and live streams with friends. Also, it can optimize your game settings and keep your graphic drivers up to date.
[2] Launch the app and click on the Drivers section from the top panel.
[3] Click on Check update.
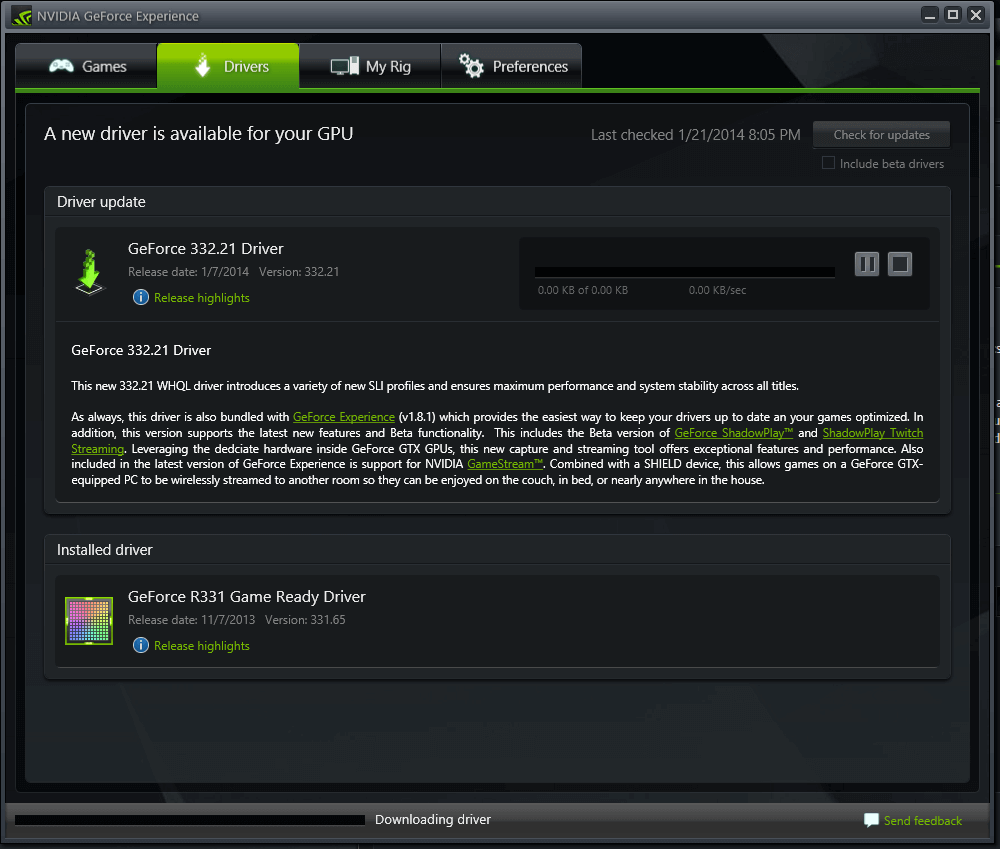
[4] If there is any update, update it on your PC.
[5] That’s it. The Nvidia panel has been updated successfully.
Open Nvidia Control Panel in Mac
[1] Turn on your Mac device.
[2] From the menu bar on the home screen, click on the Nvidia eye icon from the panel.
[3] Click the Nvidia web driver (or) Open Nvidia Driver Manager preference option.
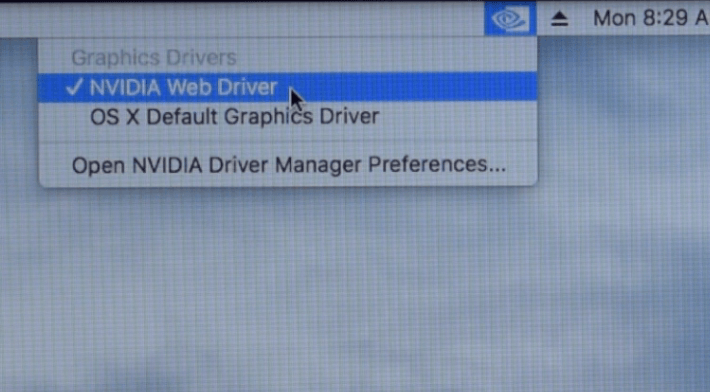
[4] Now, you can manage Nvidia Driver on your Mac.
Update Nvidia Control Panel in Mac OS
On Mac, you can update Nvidia Control Panel directly from device settings or visit this Nvidia page to get the latest version. After installing the latest version, restart your device to apply the changes.
FAQ’s
(1) What to do if my Nvidia control panel is not opening or missing?
First, try to check the Nvidia graphic drivers were updated to the latest version. If there was any update, install it and restart your system. You can also try uninstalling and reinstalling the driver when Nvidia control panel is not opening.
(2) How to Open Nvidia Overlay in the game?

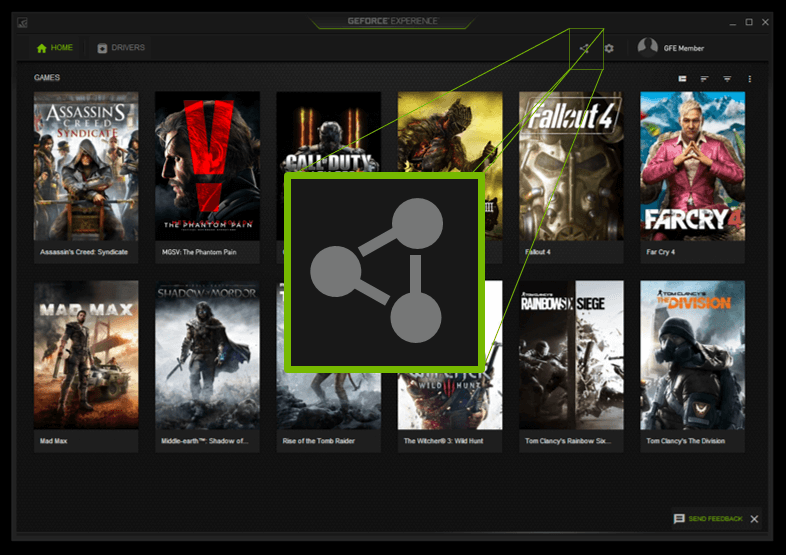
To open the Nvidia overlay in the game, install the Game ready driver from GEFORCE EXPERIENCE and click on Alt + Z or click on the Share icon inside the game to view the Nvidia Overlay.
(3) How to add the Nvidia Control panel in the desktop Context menu?
[1] Open Control panel.
[2] Choose the Nvidia Control panel from the menu.
[3] Click on the Desktop from the menu bar.
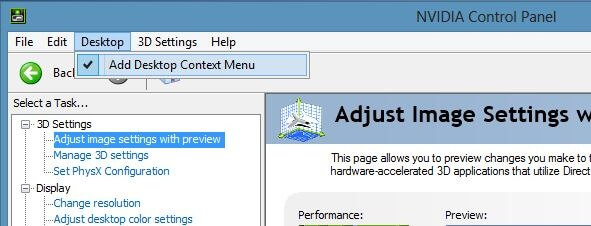
[4] Choose the Add Desktop Context menu.
Use the below comments section to share any suggestions or feedback related to this guide. Follow our Facebook and Twitter pages to read more articles instantly.
