Discord is embedded with a unique feature known as reaction roles, which is used to assign roles to members in a respective server quickly. This feature will be useful for assigning roles based on user interests, such as assigning a “muted” role to users that have been reported for inappropriate behavior and others.
Additionally, reaction roles can be used to quickly give access to various roles to private channels and customize permissions, add colors to usernames, change fonts, and many more.
Contents
How to Make Reaction Roles on Discord Desktop & Web Version
If you’re using Discord on a desktop, you can easily use the Carol Bot to make reaction roles. It is a fully customizable bot that features reaction roles and initiates certain tasks. It also helps with moderation, allowing server owners more control over their servers.
1. How to Add Carol Bot
[1] Visit Carl Bot’s website: https://carl.gg/ on your PC using a web browser.
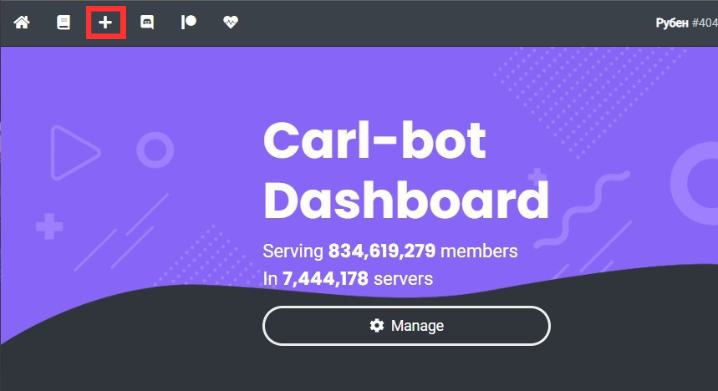
[2] Once the page displays, select +Invite at the top.
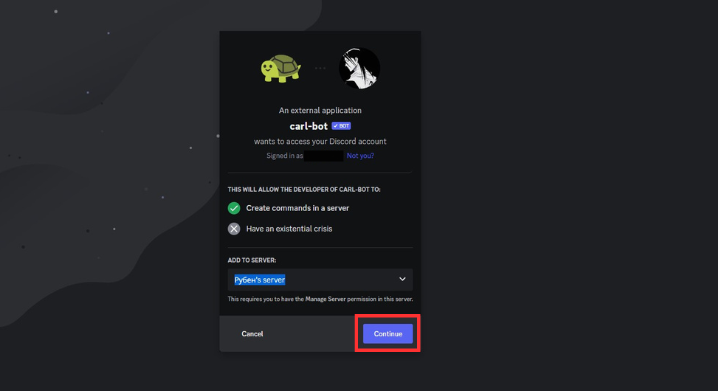
[3] On the next page, click Select a Server, choose the server where you want to add the bot, and click Continue.
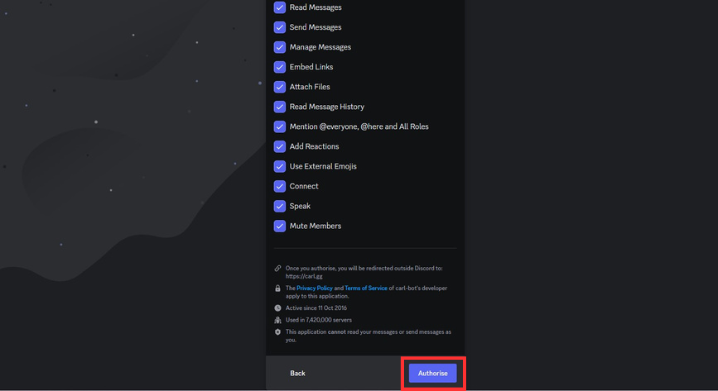
[4] Then, scroll down and click Authorize. It will grant all the permissions for the bot to access your server.
[5] Finally, verify to add the Carol Bot to your required server.
Tip! You can easily find the discord ID for your chat, user, and server from the mobile or desktop application.
2. How to Assign Roles Using Carol Bot
[1] After adding the Carol Bot to your server, open the Discord app or the web version (https://discord.com/) on your desktop.
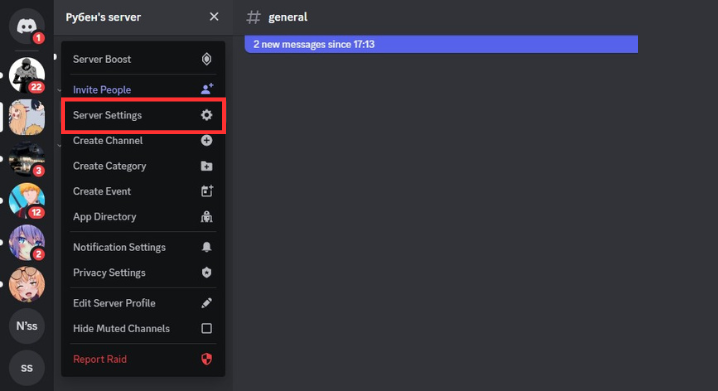
[2] Open the server and click Server Settings from the drop-down menu.
[3] After that, select Roles on the left pane and choose the Create Role option.
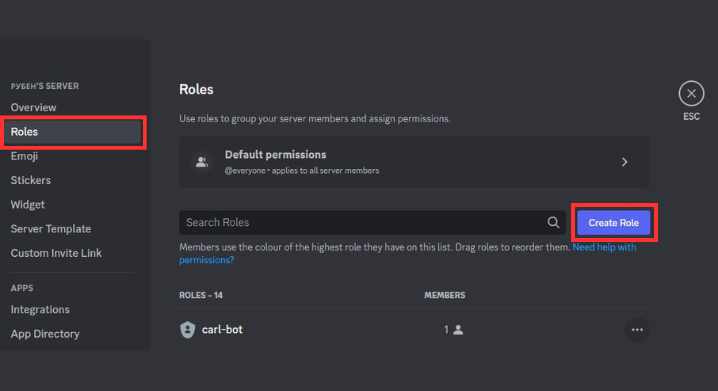
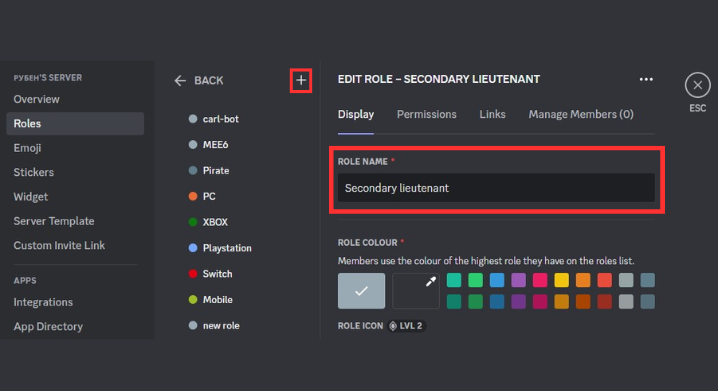
[4] Further, click the “+” icon to create a new role.
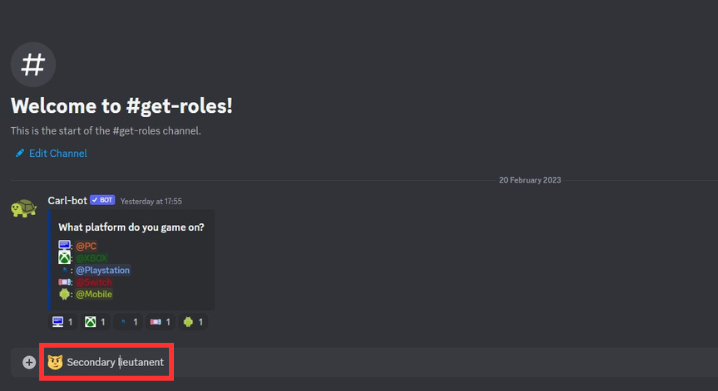
[5] Under the Role Name section, enter the name for your role (ex: Secondary lieutenant).
[6] Ensure you’ve enabled Display role members separately from online members option after selecting the carol-bot.
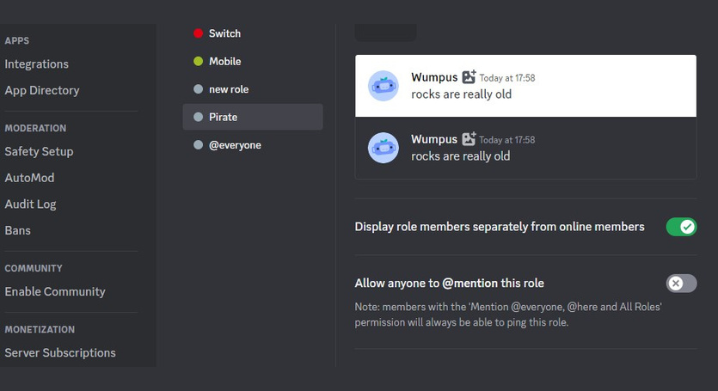
Note: While creating a new role, ensure that carol-bot is at the top of the list. If not, then drag and place the carol bot at the top.
[7] Finally, click Save Changes to set up your new role.
3. How to Make Reaction Roles With Carol Bot
After creating the required roles, you can finally make reaction roles for your server.
[1] Now, open a channel of your choice and enter ?reactionrole make and hit Enter.
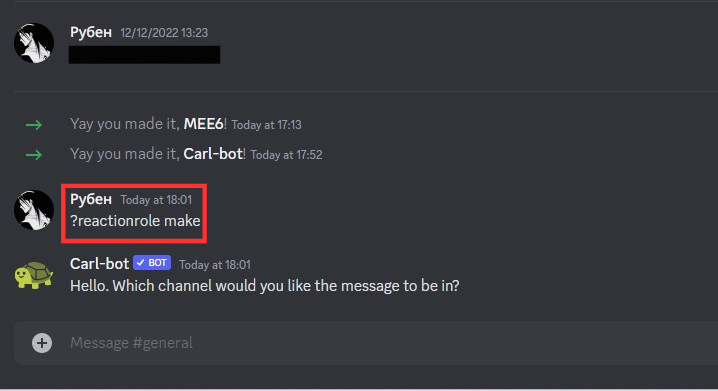
[2] You’ll get a reply from Carol Bot asking you to specify what channel you want to host the reaction roles. Just enter the channel and hit Enter to make reaction roles on the specific channel.
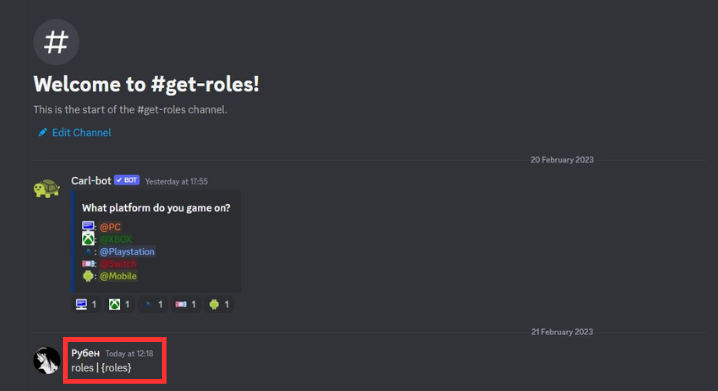
[3] After making reaction roles, you can also add a description, title, and colors. Just navigate to the channel and type roles | {roles}, and hit Enter.
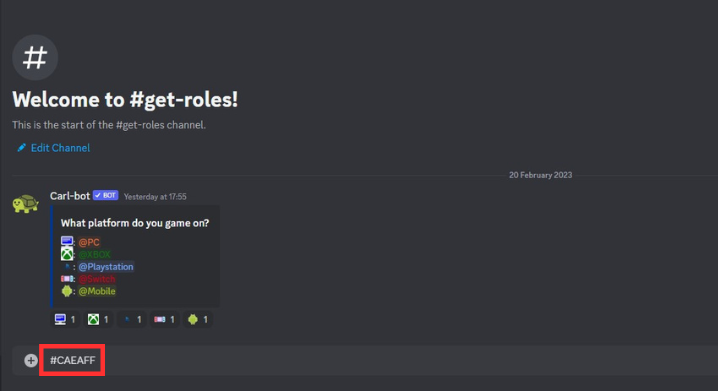
[4] Carol Bot will prompt you to enter a color hex code by default. Just enter the hex code (ex: #CAEAFF) and hit Enter. If you don’t want any colors for your reaction roles, enter none in the hex code box.
Finally, add a name and emoji to the reaction roles. After adding, the users will react to the emoji that you’ve assigned.
[5] Enter the emoji you like and hit the Space bar on your keyboard once.
[6] Now, enter the name of your assigned role on settings and hit Enter. You can follow the same procedure to create additional roles.
[7] Finally, type Done and hit Enter to complete the process.
Now, you’ve successfully created reaction roles. Any user who joins the channel that you’ve setup up the roles will be greeted with the carol bot to show the role options. After that, they can select the react option to choose the role they want.
Tip! You can turn off the auto emoji on Discord if you feel frustrated during a chat with others.
How to Make Reaction Roles on Discord [Mobile App]
If you’re using Discord on mobile devices like Android or iPhone, you can use the Mee6 bot to make reaction roles. Like Carol Bot, Mee6 helps users manage and customize their servers and proceed with automated tasks. It can also be used to moderate conversations, set up welcome messages, assign roles, and more.
[1] Visit the Mee6 website – https://mee6.xyz/ on your smartphone with a web browser and click the Login With Discord button.

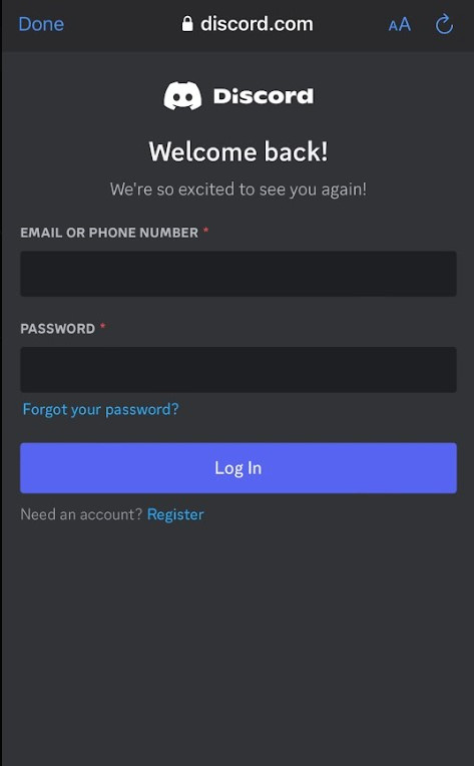
[2] Enter your email and password associated with your Discord account and click login.
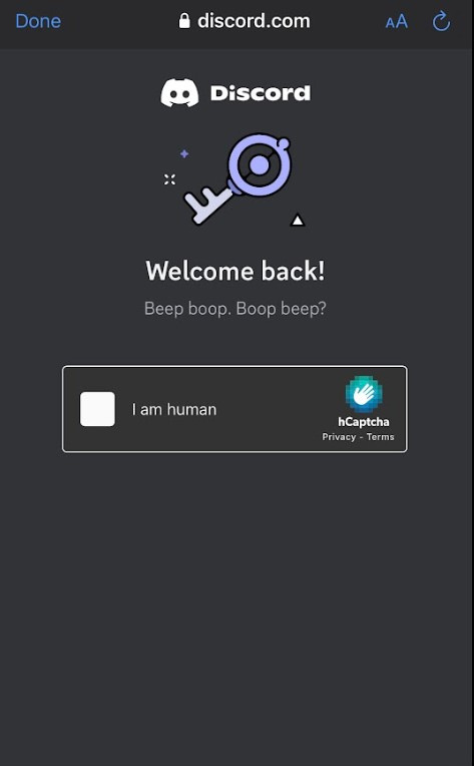
[3] Verify to proceed further.
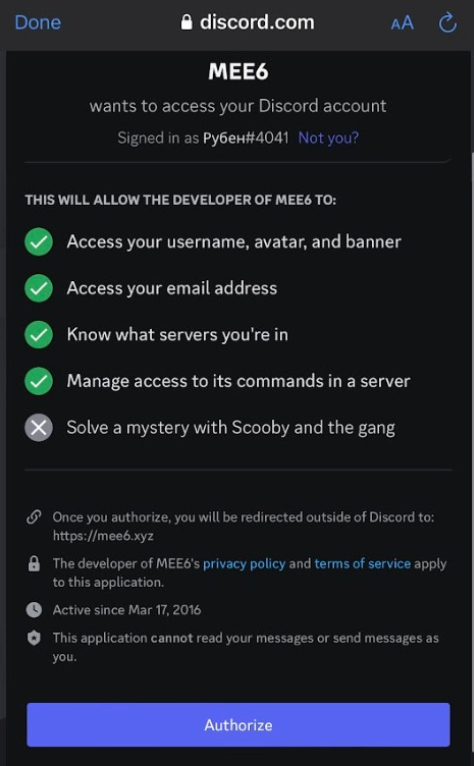
[4] After that, scroll down and click Authorize to grant the Mee6 bot access to your username and other details.
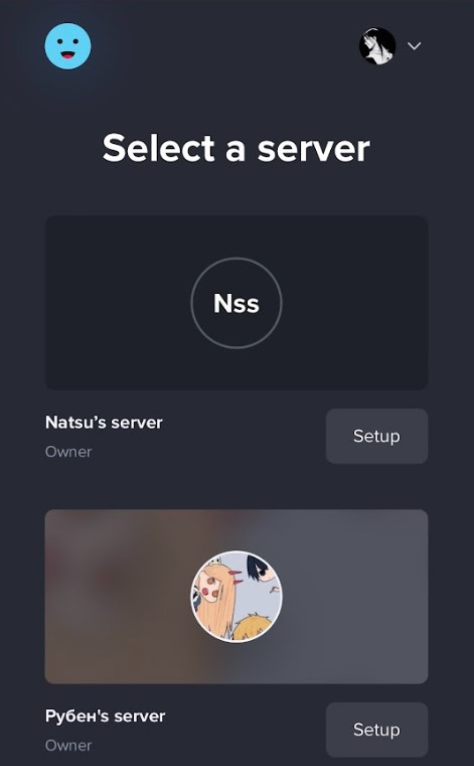
[5] Now, choose the Discord server of your choice and click Setup.
Tip! You can make a rules channel on Discord for a community to follow certain rules and to keep your channel safe and secure.
[6] Next, click on Plugins and choose Reaction Roles by scrolling down.
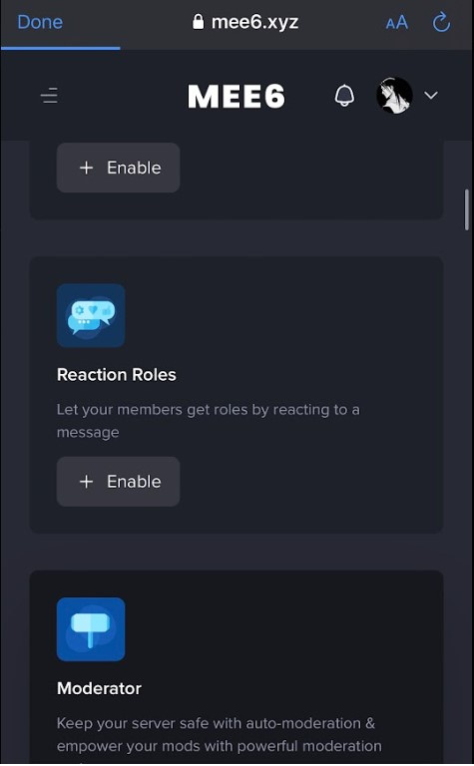
[7] Tap Yes to enable the plugin.
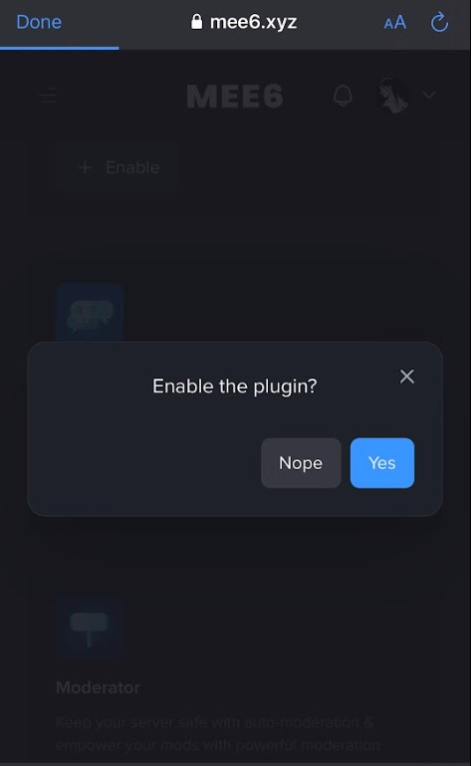
[8] Navigate through the feature and make sure to enable the required functions, including name, image, role, short message, and others.
[9] Hit the Save button to add reaction roles to your Discord server on mobile applications.
Tip! If you’re done using the platform, you can delete the Discord account by navigating through the built-in settings.
Frequently Asked Question
Mee6 is one of the top-voted bots on Discord. You can also try bots like Dyno, Arcane, Cookie, and rhythm for the same experience as Mee6.


