Disney Plus is a popular application that streams various movies and TV shows. It has a vast user base and provides frequent updates to provide a better user experience. Though it is popular with users worldwide, it does not mean the application is error-free. Error Code 42 is one of the issues on Disney Plus, which occurs due to an improper internet connection.
Contents
- Methods to Troubleshoot the Disney Plus Error Code 42
- Step 1: Restart the Device & Refresh the Disney Plus Application
- Step 2: Check for Disney Plus Server Issue
- Step 3: Check the Internet Speed
- Step 4: Clear Cache and Cookies of Existing Browser Data
- Step 5: Re-Login to the Disney Plus Account
- Step 6: Disable Browser Extension
- Step 7: Update Disney Plus Application
- Step 8: Reinstall Disney Plus Application
Methods to Troubleshoot the Disney Plus Error Code 42
Before troubleshooting the device, the users should ensure the problem is because of the internet service provider or the Disney Plus server. If the issue is with the Disney Plus server, the user needs to wait until they fix it. But if the problem is with the outdated application or connectivity, the user can process the troubleshooting methods and see what works for them.
Step 1: Restart the Device & Refresh the Disney Plus Application
The users facing the error in the middle of the streaming would be frustrating. There are possibilities for the users to encounter a situation when audio-only plays. The cause for this issue can be of low internet signal that does not meet the Disney Plus streaming requirement. So the user has to start with the basic troubleshooting process like restarting the device and unplugging it from the power supply. Let the charge drain completely, then plug it back in. Finally, restart the device so that any application running in the background can be cleared to run the Disney Plus without interruption.
Step 2: Check for Disney Plus Server Issue
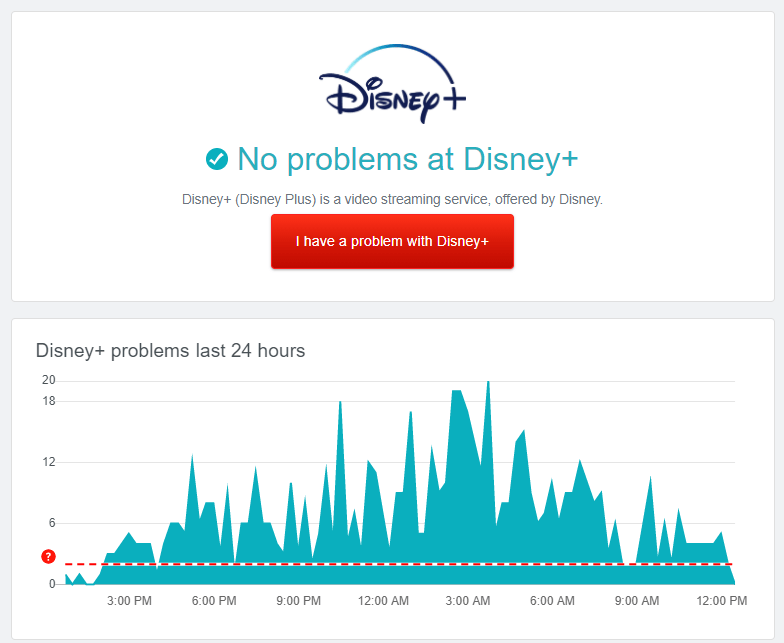
If the issue continues, the problem may be with the Disney Plus Server. You can confirm it by visiting the Disney Plus social media handles. The user can use a third-party application to check Disney plus has reported any downtime. One of the most commonly used third-party applications to track the present state of Disney Plus is DownDetector. In this situation, wait for Disney Plus to fix the issue and then try to stream the content.
Step 3: Check the Internet Speed
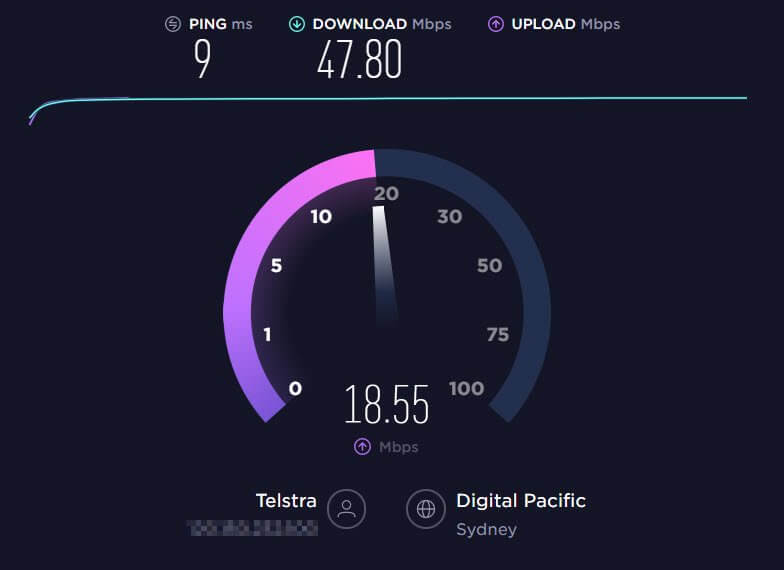
Disney plus would need at least 5 Mbps for stable streaming, but the 4K force play would require 25 Mbps of speed for a better user experience. The user can utilize various third-party applications to check the speed and stability of the internet. For example, Speedtest by Ookla is a third-party app used to check the internet connectivity for streaming. If the internet speed is not enough, the user should contact the service provider to upgrade the plan or fix the issue.
Step 4: Clear Cache and Cookies of Existing Browser Data
If you’re using the web version of Disney Plus via Google Chrome, Mozilla Firefox, and Safari, the error code 42 may appear due to the cached data. So the user has to clear the caches and cookies that interrupt the browser’s performance and increase the load time.
Step 5: Re-Login to the Disney Plus Account
There are possibilities for the internal data to get corrupted due to some glitches or bugs. To clear the existing data, the user has to log out of the account right away and re-login to avoid the error.
1. On the Disney Plus app or browser, click on the profile icon.
2. Now, click on the “Logout” option to complete the process.
3. If the user has linked the account to multiple devices, click on the “Logout of all devices” option.
Step 6: Disable Browser Extension
The browser extension or plug-ins can be a reason for the Disney Plus error code 42. This is because the user may be using plug-ins or extensions on the browser for various purposes. So it is better to turn off extensions before using the Disney Plus. Here is how to disable the extension on the web browser.
1. Open the desired browser and click on the “Option” button.
2. Select the “Settings” option and access the “Extensions” tab.
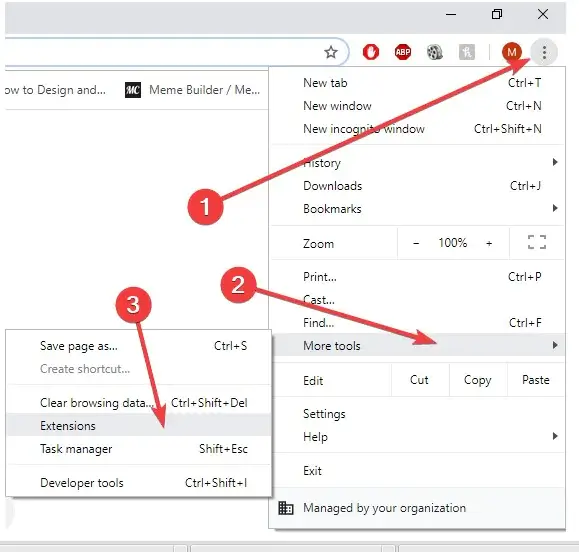
3. Now, turn off all the extensions and plug-ins installed on the browsers and restart the browser.
4. Ensure that the issue is fixed by logging in to Disney Plus.
Step 7: Update Disney Plus Application
Disney Plus releases frequent updates to fix the glitches and bugs in the app. So the user has to check whether the Disney+ installed on your device is updated or not.

On Android devices,
1. Open the Google Playstore, click on the “Menu” option and select the “My Apps and Games” option.
2. Locate the Disney Plus application from the list and tap the “Update” button.
On iOS devices,
1. In the AppStore, click on the profile to view the list of applications available.
2. Click on the update button beside the Disney Plus application to install the latest version.
Step 8: Reinstall Disney Plus Application
Sometimes there is a possibility that the installation files of the Disney Plus get corrupted due to bugs or glitches. The user has to delete the app and reinstall it again for a new start to fix this issue.
On the Android device,
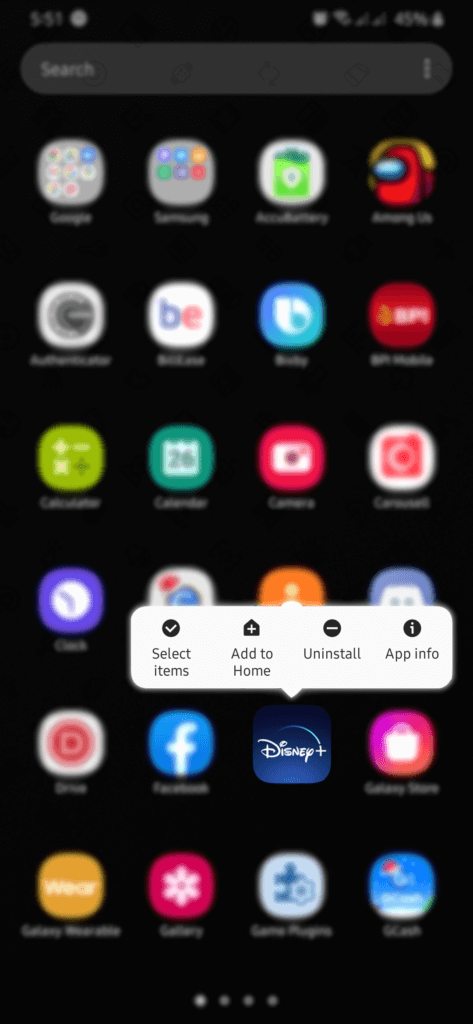
1. Open the Disney Plus from the application menu and long press on the icon.
2. From the drop-down menu, select the “Uninstall” option to remove Disney plus from the device.
3. Go to the Playstore and reinstall the application.
On the iOS device,
1. Locate the Disney Plus from the home screen.
2. Long press the icon and select ” Remove App” to uninstall the application from the device.
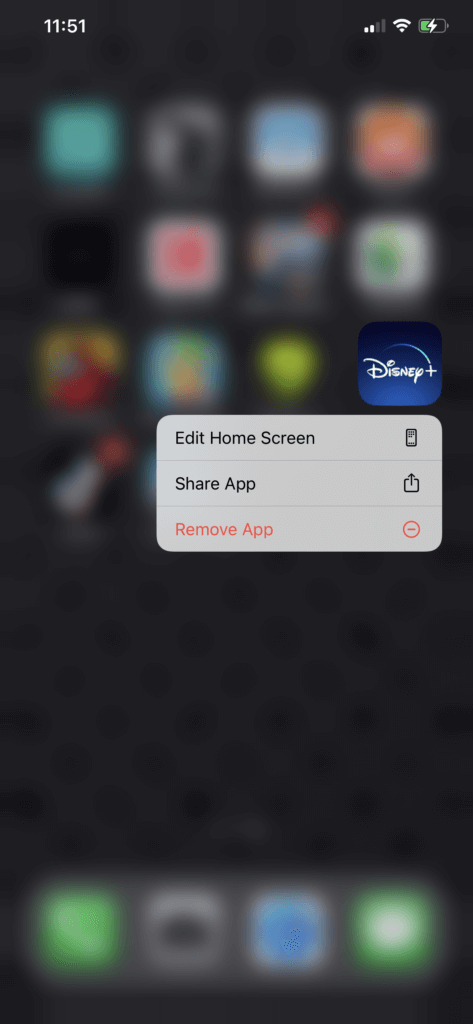
3. Go to AppStore, and reinstall the Disney Plus application.
If the troubleshooting does not help, the final process is to report the issue to Disney Plus customer service, as they would be able to help us better. However, most of the time, the solutions mentioned above will fix the issue easily.


