If you’re an owner of Apple devices (iPhone, iPad, or Mac), you will have an iCloud account which is a part of your Apple ID. It lets you store and sync various types of files across Apple devices. While setting up, you will get 5 GB of storage for free. You can get additional storage of 50 GB by paying $0.99/month, 200 GB ($2.99/month) and 2 TB ($9.99/month). When you have several iCloud accounts, it is better to delete the unused ones to avoid confusion. You also need to delete your iCloud account when
- the linked email address is no longer valid
- the iCloud account created for the organization is not needed anymore
Whatever the reason is, Apple supports deleting the iCloud account both temporarily and permanently.
Before jumping into the process, check what happens when your iCloud account is deleted:
- Files (photos, videos, documents, songs and more) that you stored on iCloud will be deleted
- You will not receive messages or calls from iMessage, Facetime, and iCloud mail
- iCloud storage plans will be canceled
- Lost access to iBooks Store, Apple Pay, iCloud Keychain, Find my iPhone, Back to my Mac and Game Center
Contents
Backup your Data
While deleting the iCloud storage account, Apple will ask you to download a copy of your data. However, it is essential to back up your important data manually before deleting the account. It includes photos, videos, emails, contacts, iBooks, and more.
All Apple devices have a built-in option to back up the important data. You can also download various third-party software to back up your device.
Remove Devices Associated with your Apple ID
Before removing devices from your iCloud account, you need to disable Find My Mac, iPhone and iPad on devices associated with your account.
Mac – System Preferences > iCloud > Find My Mac > disable Find My Mac.
iPhone/iPad – Settings > Apple ID > Find My > disable Find My iPhone.
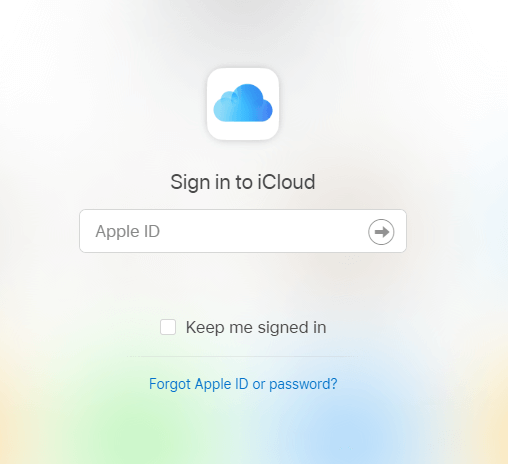
Step 1: Open a web browser on your Mac or Windows and visit appleid.apple.com. Sign in to your account by entering your Apple ID, password, and two-factor authentication code (if enabled).
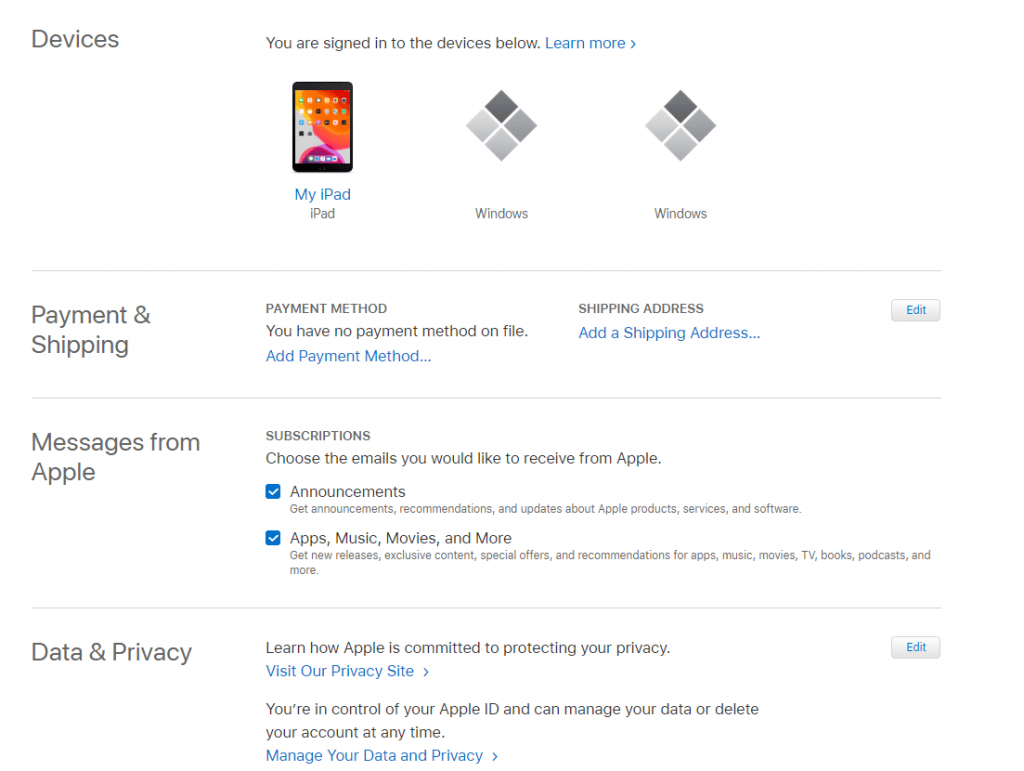
Step 2: Scroll down to the Devices section.
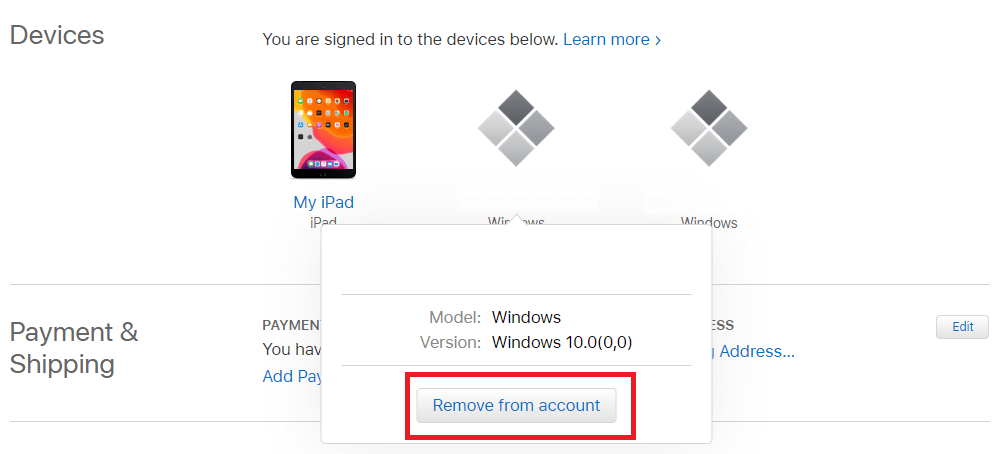
Step 3: Tap the device name and select Remove from account.
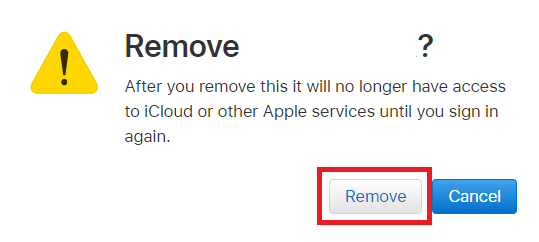
Step 4: Again, tap Remove to confirm the process.
Step 5: Follow steps 3 & 4 to remove all the devices.
Sign out of your Apple ID on Mac and iOS devices
After removing all the devices from your iCloud account, you need to Sign out of your Apple ID on the associated devices.
Mac
- Select System Preferences.
- Select iCloud.
- On the bottom left corner, select Sign Out.
- Select the data that you want to back up and click Continue.
iPhone/iPad
- Open Settings.
- Select the Apple ID.
- Scroll down and select Sign Out.
- Enter your password and confirm the process.
Delete iCloud Account Permanently
Step 1: Visit privacy.apple.com and sign in with your Apple ID credentials.
Step 2: Under the Delete your account section, tap Request to delete your account.
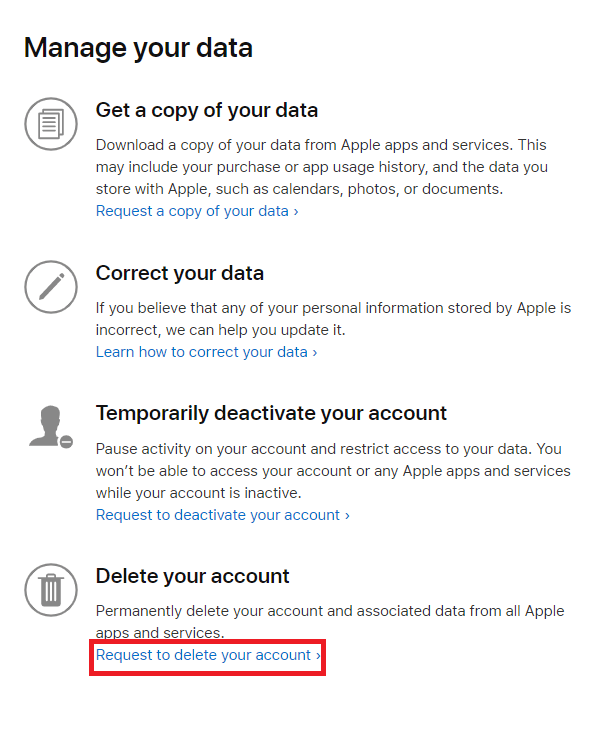
Note: Before deletion, you can request a copy of your data and get a link to download all the data associated with your iCloud account. This is important because, if you delete your account, you can no longer get your data after that.
Step 3: On the next screen, select the reason why you need to delete the iCloud account and tap Continue.
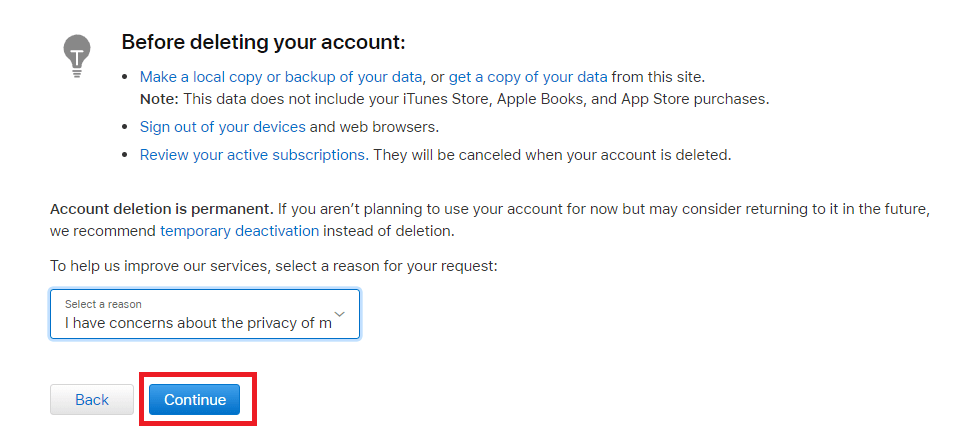
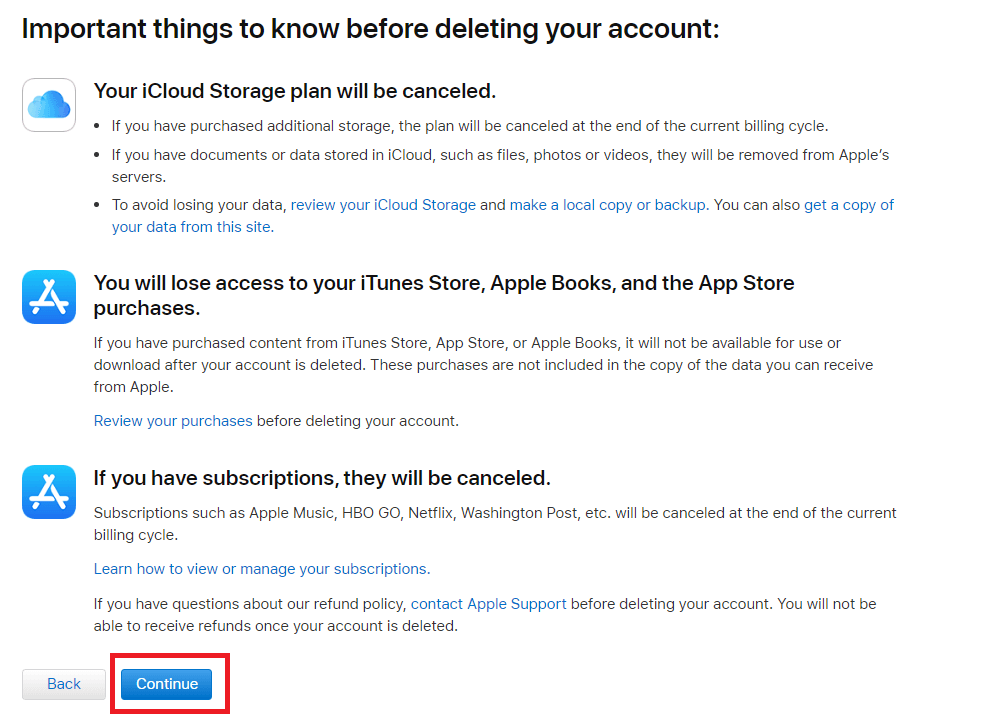
Step 4: Go through the information provided on the screen and tap Continue.
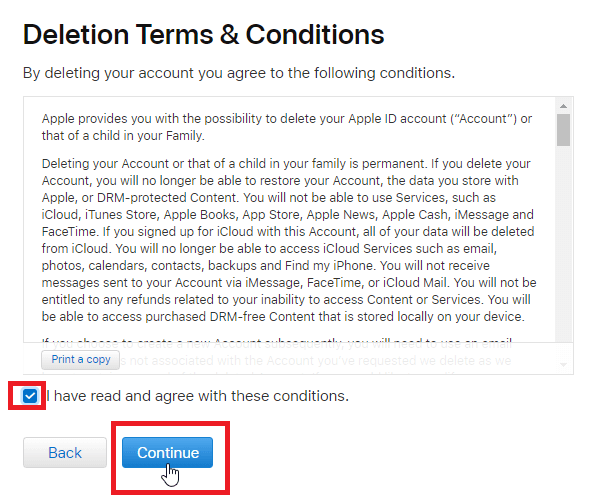
Step 5: Accept the term & conditions and select Continue.
Step 6: Choose a contact method to receive the account status updates and tap Continue.
Step 7: Note down the access code and tap Continue.
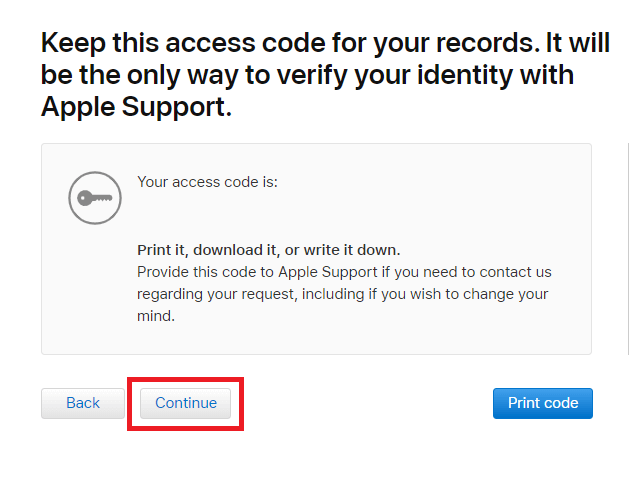
Step 8: Enter the code and click Continue.
Step 9: A new pop-up will appear on the screen. Click Delete Account.
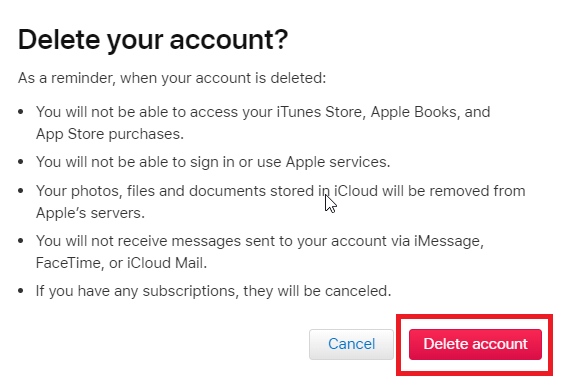
Step 10: Tap Sign out and your account will be deleted within one week.
Deactivate iCloud Account Temporarily
Instead of deleting your iCloud permanently, you can temporarily deactivate your account to access it in the future.
Step 1: Instead of selecting Request to delete your account (Step 2 on the above method), select Request to deactivate your account.
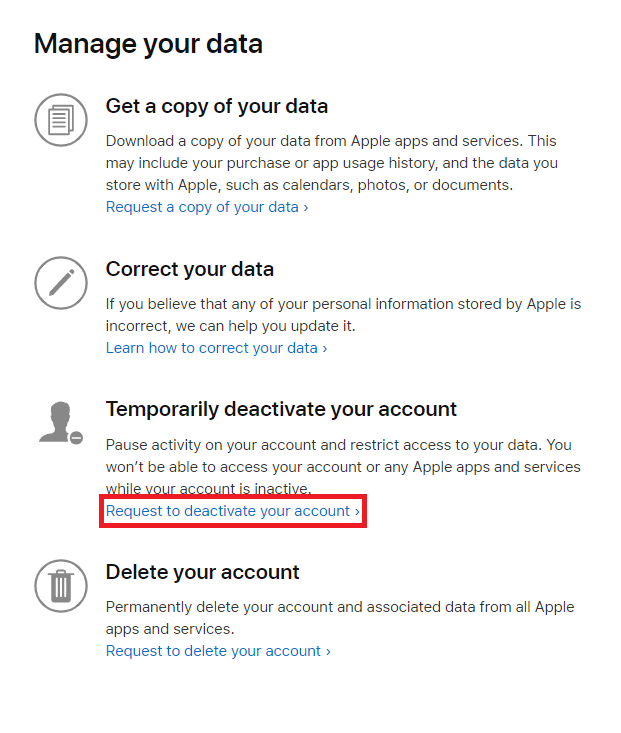
Step 2: Select a reason and tap Continue.
Step 3: Go through the same procedures that we mentioned above for the deletion process.
Delete iCloud Account Without Password
When you have forgotten the password for your iCloud account, it is impossible to delete the account. However, you can use third-party tools like UkeySoft Unlocker, AnyUnlock, iMyFone LockWiper, and few more to delete the iCloud account on all versions including iOS 12. But, we don’t recommend those tools for our users due to certain privacy issues.
On the other hand, if your iOS device runs on iOS 7 and earlier, you can delete your Apple ID or iCloud account directly from the settings without providing the password.
Step 1: On your iOS device, open Settings and hit the iCloud menu.
Step 2: Enter a random password and hit the Done menu.
Step 3: iCloud will tell you that password is incorrect. Tap OK and then, select the Cancel menu.
Step 4: You will be re-directed to the iCloud page.
Step 5: Select the Account section and erase the description.
Step 6: Tap Done and the main iCloud page without providing any password.
Step 7: Scroll down the screen and hit the Delete button.
Step 8: Again, tap Delete to confirm the process.
To Conclude
These are the steps required to delete the iCloud account online. Users must be aware that deleting iCloud or Apple ID is permanent and irreversible. The deletion process will take seven days to complete as Apple needs to verify whether the request was made by you, and not someone else.
Do you want to share suggestions or queries related to this guide? Use the comments section provided below. Follow our Twitter and Facebook profiles to stay connected with us.
