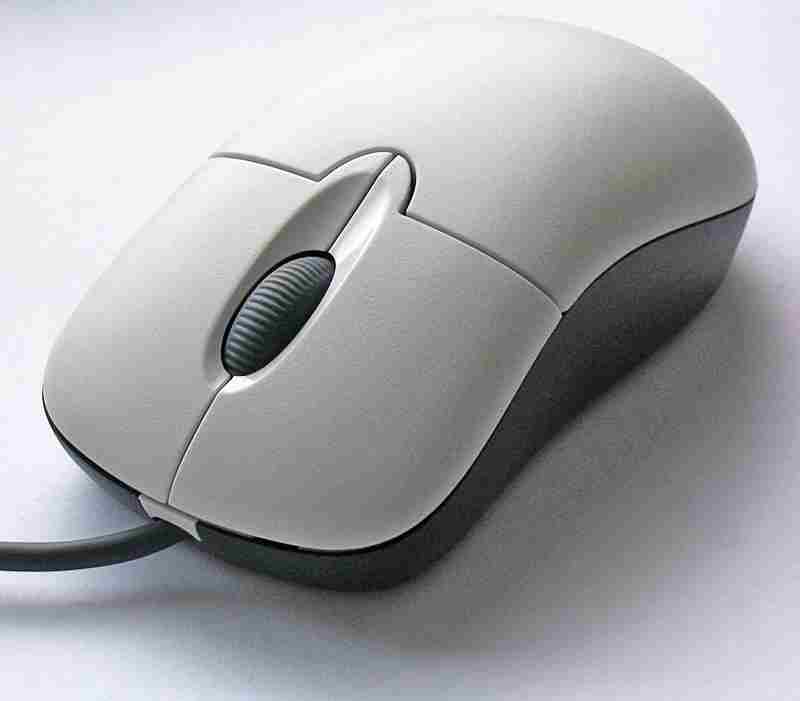
Nowadays, PC accessories are available in both wired and wireless formats. If you use a typical old-school USB mouse, you probably won’t need guidance on connecting it to your Mac. However, the wireless mouse needs some configuration to connect with the Mac. So let’s find out the steps to connect all mouse types to your Mac.
Contents
How to Connect Bluetooth Powered Wireless Mouse to Mac
[1] Turn on your mouse using the switch at the bottom side of your mouse.
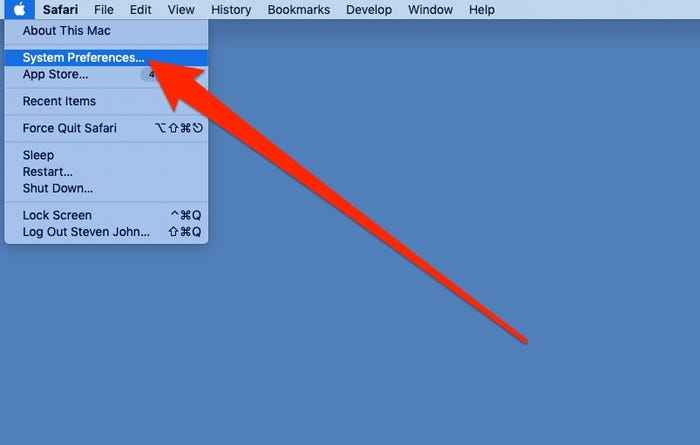
[2] Turn on your Mac and click the Apple icon on the top-left corner of your screen.
[3] From the menu, select System preferences.
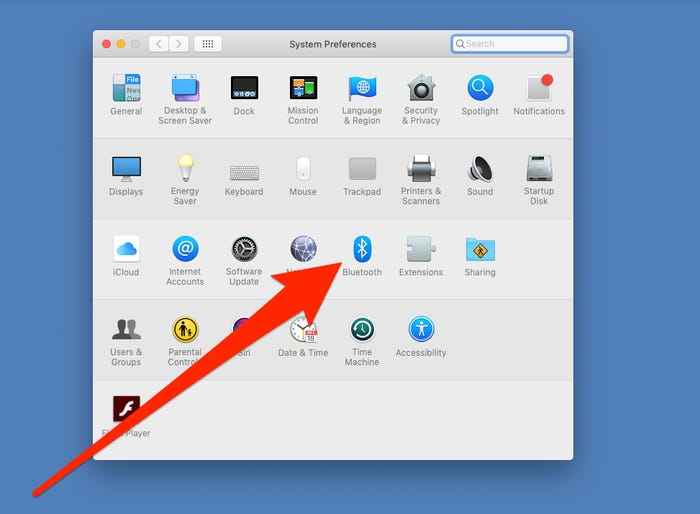
[4] Click Bluetooth from the new window that appears.
[5] Press the Pairing button on your mouse.
[6] Your mouse name will appear on the Bluetooth devices list.
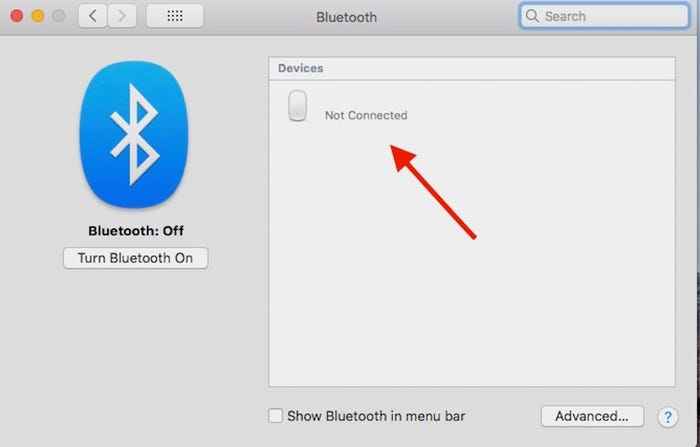
[7] Select the name of your mouse from the list to connect.
Related – How to Connect an External Keyboard to Mac
Bluetooth Wireless Mouse With USB Receiver
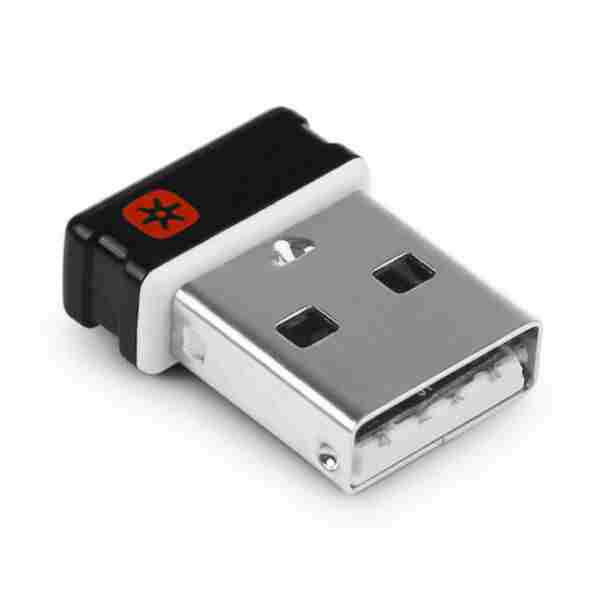
[1] Insert the USB receiver which came along with your mouse into the USB port of your Mac.
[2] Turn on your mouse using the switch provided on the backside.
Note: If you couldn’t find the power button, connection button, or pairing button on your mouse, check the instruction pamphlet of your mouse. The position of the button will differ with each brand and model.
[3] Press the Connection button on your mouse.
[4] Finally, you will find your mouse connected to Mac.
What is Magic mouse and How to Connect it to Mac?
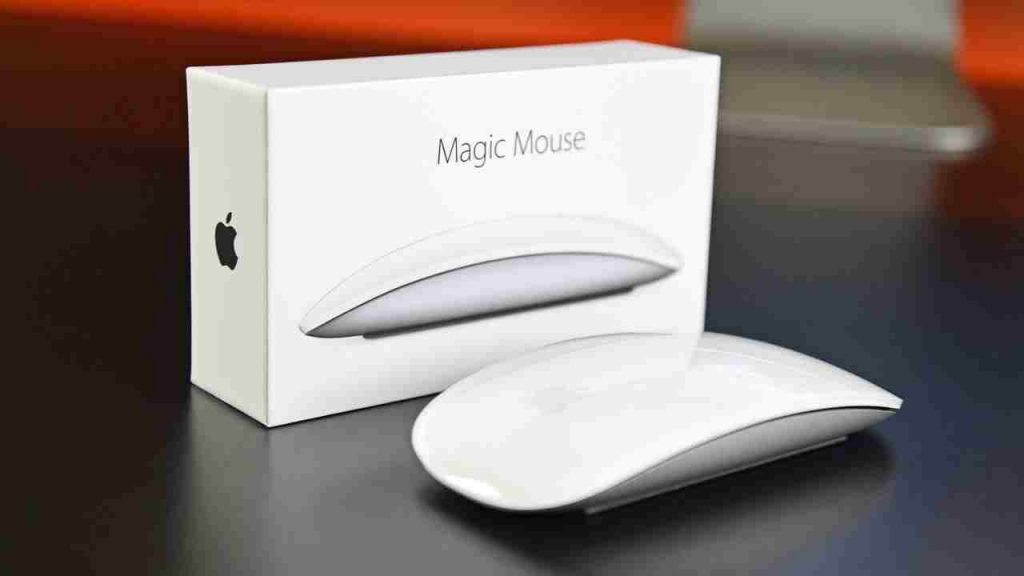
Magic Mouse is a multi-function, rechargeable, wireless mouse developed by Apple. It comes with a multi-touch surface that lets you perform all tasks with simple gestures. There are two models in magic mouse. One works with two AA batteries and the second model comes with a USB C to lightning cable to charge and pair it.
[1] Turn on your mouse and Max
[2] On your Mac, click on the Apple icon.
[3] Select System preferences and click on Bluetooth.
[4] Select the device name from the Bluetooth devices list on your Mac.
[5] Alternatively, if you use the lightning cable to connect your Mac and magic mouse, you can start using it as soon as the notification is displayed on the Mac.
[6] After getting the notification, you can disconnect the cable and work wirelessly.
Related – How to Turn Off Camera on MacBook
How to Connect a Wired Mouse to Mac
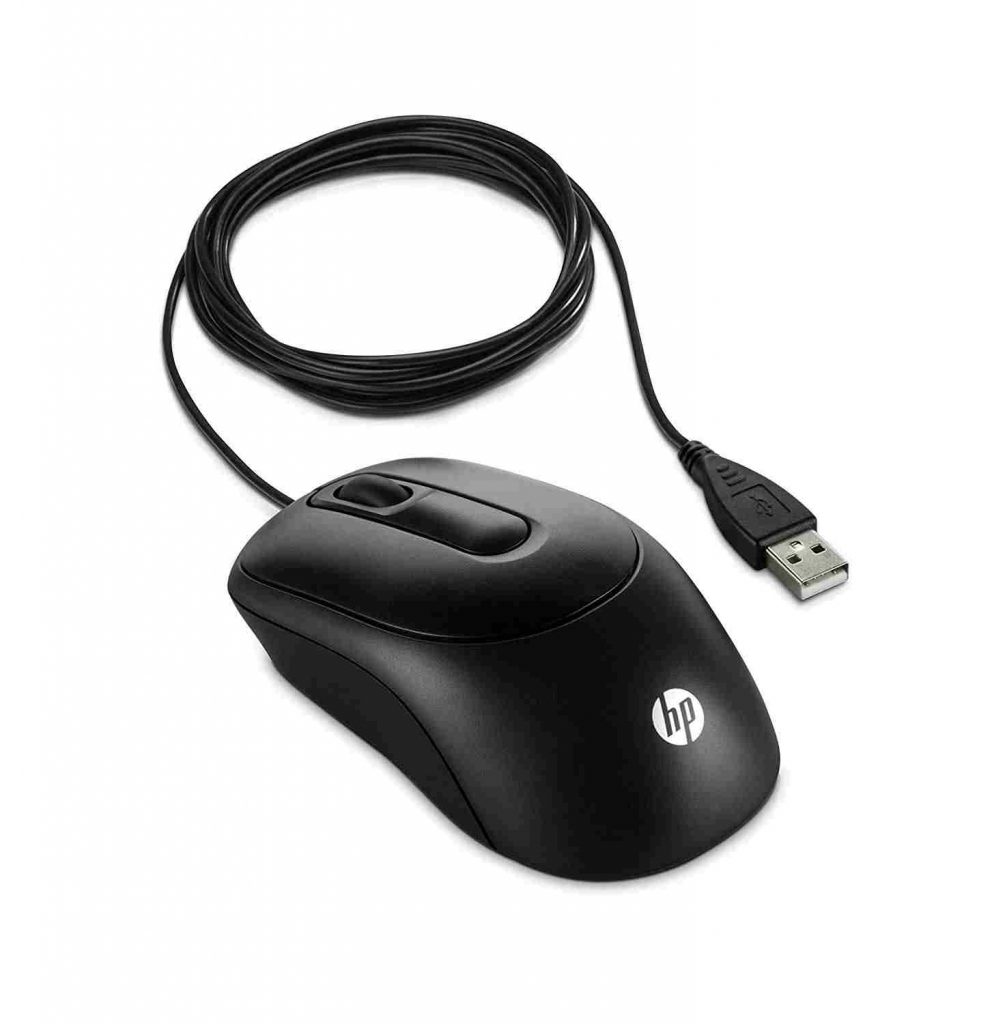
[1] Connect the USB cable of your mouse to the USB port of your Mac.
[2] Your USB mouse will be detected automatically by your Mac. If it is not connecting after a few minutes, try connecting the USB cable of your mouse to another USB port on your Mac.
[3] Your mouse is connected now.
[4] Click the Apple icon on the home screen of Mac.
[5] Select System preferences and click on the Mouse icon from the new window.
[6] In the mouse window, you can adjust the settings like which side of the button needs to be your primary button, scrolling speed, etc.
Thus, connecting your mouse to a Mac is so simple. It just takes a few steps. Additionally, the new models of mouse are very user-friendly to connect with all operating systems. If the wireless mouse fails to connect with your Mac, replace the batteries with the new one. If the wired mouse fails to pair with the Mac, the problem is with the USB port of your Mac.
Follow our Facebook and Twitter pages to stay connected with us.


