There are situations you will end up upgrading your iCloud storage plan a lot more than what you need. In such cases, you can either prefer to downgrade or cancel your iCloud storage plan. It can be done using your iPhone, iPad, Mac, or Windows computer.
To do this, sign in with the Apple ID you use for your iCloud+ plan on the respective devices. Also, remember that the change in storage plan will come into effect only after your existing subscription billing period ends.
Contents
How to Cancel or Downgrade iCloud Storage Plan on iPhone / iPad
#1. Unlock your iPhone and open Settings.
#2. Tap your Apple ID name on the top of the Settings.
#3. Click iCloud to see the storage.
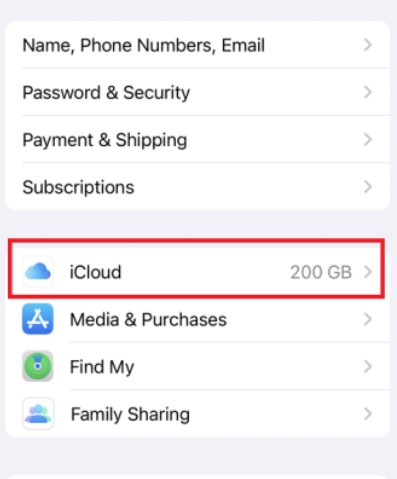
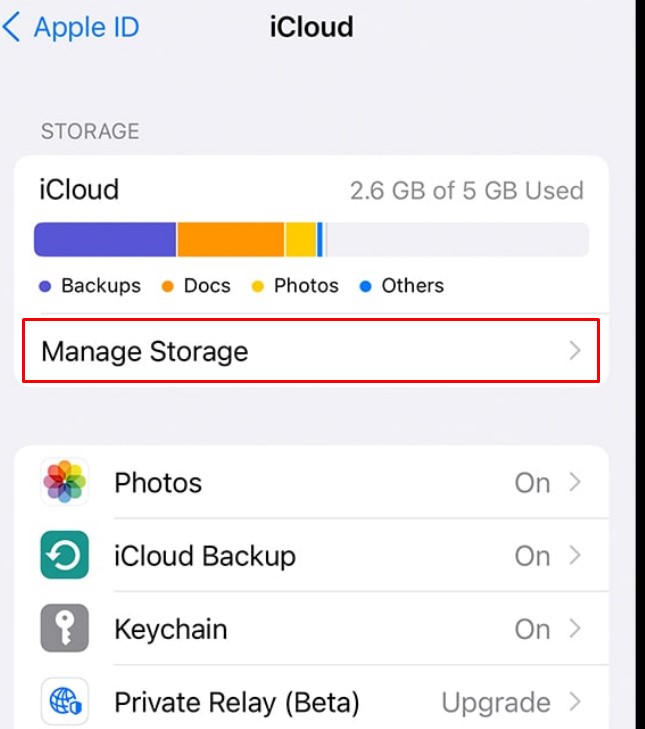
#4. Select Manage Storage on the next page.
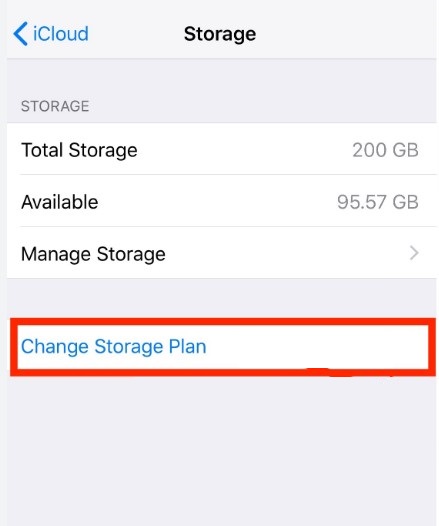
#5. You will see the option Change Storage Plan. Tap on it.
#6. Select Downgrade Options at the bottom.
#7. To downgrade your plan, choose from the plans displayed under the Downgrade Options. To cancel your iCloud plan, choose the standard free 5GB plan.
For example, to downgrade your 2TB storage plan, you can choose the 200GB or 50GB plan.
#8. Finally, click on Done.
How to Cancel iCloud Storage Plan Subscription on Mac
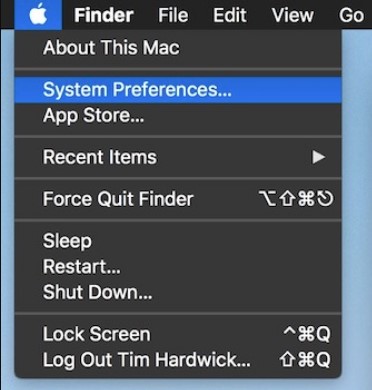
#1. Click on the Apple menu and choose System Preferences from the pop-up menu.
#2. Click on the Apple ID at the right corner.
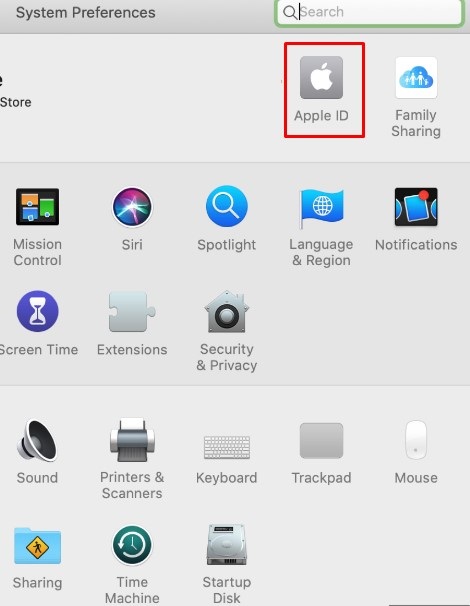
#3. Select iCloud displayed on the left side of the window, followed by clicking Manage available in the bottom right.
#4. Click on Change Storage Plan in the iCloud Storage box.
#5. Select the Downgrade Options available at the bottom left of the Upgrade iCloud+ box.
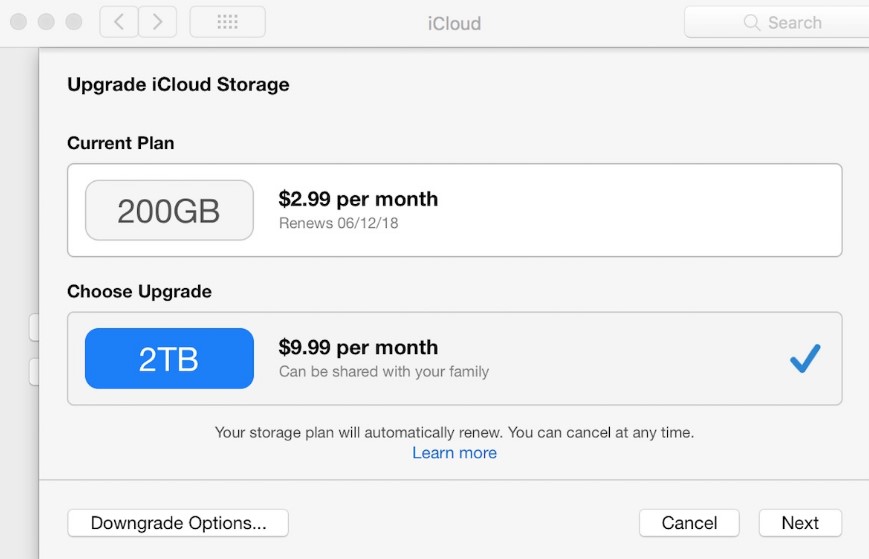
#6. You will be prompted to enter your Apple ID password. Proceed to click Manage.
#7. Like iPhone, if you want to lower your storage plan, select the plan displayed under Downgrade Options. In case of canceling the iCloud+ subscription, select the free 5GB plan.
#8. Finally. Finish the process by clicking on Done.
How to Cancel iCloud Storage Plan Without Apple Devices [Using Windows]
You can also use your Windows PC or Laptop instead of an Apple device to cancel or downgrade the iCloud storage plan.
#1. To begin with, install the iCloud app on a Windows computer.
#2. Launch the app and begin by logging into your iCloud account.
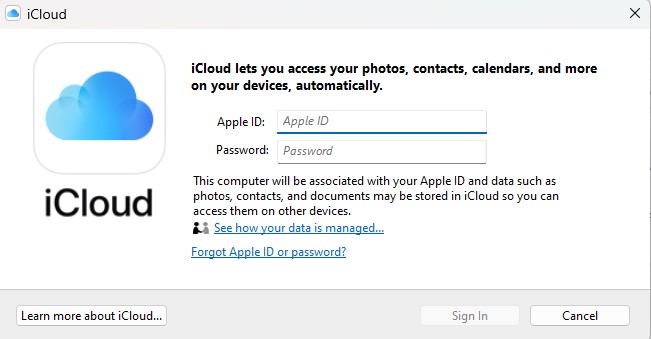
#3. Click on the Storage option.
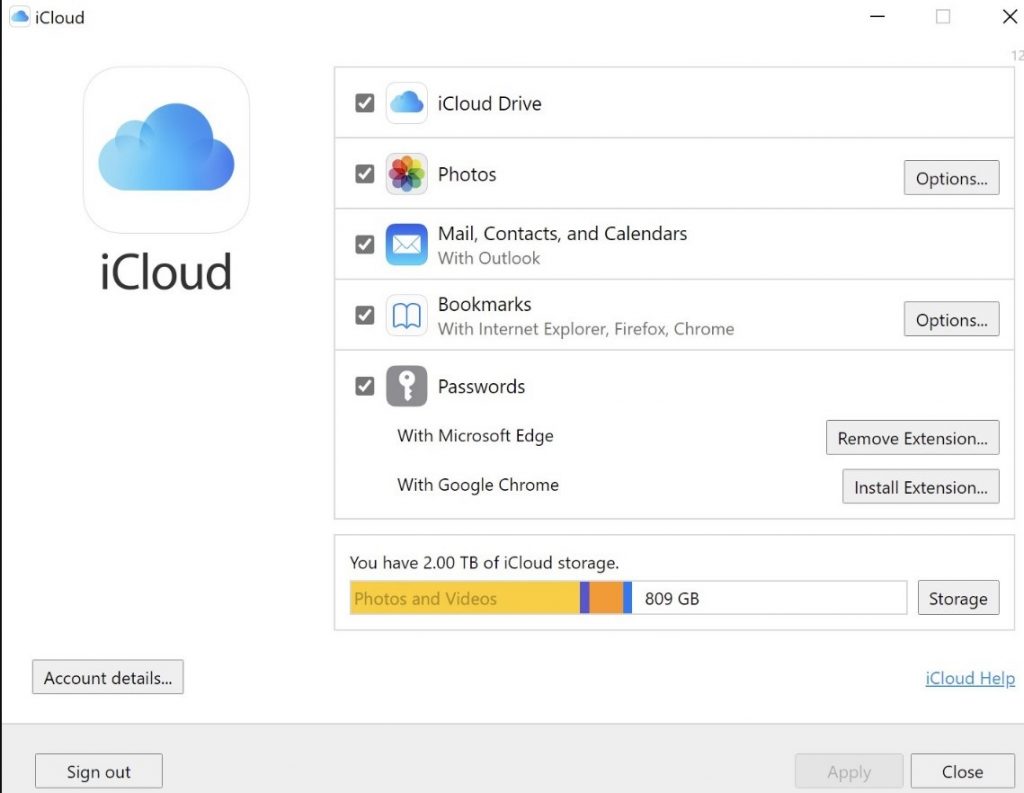
#4. Click on Change Storage Plan to modify your plan.
#5. Select the Downgrade Options.
#6. Choose any downgrade plan or free 5GB option to cancel your iCloud+. Enter your Apple ID password for confirmation.
The Change Storage Plan option will be available only if you have upgraded to iCloud+. If you have not upgraded, you will find the Upgrade option instead.
Does Canceling My Storage Plan Affect My Data?
When you have canceled the iCloud storage plan, all your stored data will remain in iCloud. However, you can access only 5GB of data on your account. To access them, you must delete the data on iCloud or upgrade to a storage plan again.
By canceling your iCloud storage plan, you will lose access to the following things.
- iCloud Private Relay
- iCloud Family Sharing
- HomeKit Secure Video support
- Custom Email Domain
- Hide My Email
Related iCloud Tutorials
- How to permanently delete an iCloud account
- How to change the iCloud account on iPhone
- How to access iCloud photos on Android
FAQ
You cannot use an Android phone to cancel your iCloud storage plan.
To downgrade from the 50GB iCloud storage plan, you can choose the free 5GB plan as there is no downgrade option below it.
You cannot cancel the iCloud storage plan online.
> On your iPhone, open Settings and click on your name.
> Select Family Sharing → iCloud+ and proceed to follow the information displayed on the screen.
> On your Mac, click on the Apple menu → System Preferences → Family Sharing. Then, click on iCloud storage → Share and follow the onscreen instructions.


