VirtualBox is an open-source free software published by Oracle. It is a visualization tool specially designed for computer operating systems. It is a cost-effective and entirely safe software program that allows you to emulate an operating system on your own computer and use it like running on the real hardware. By default, it stores all the virtual machine information in your user folder. VirtualBox allows you to use a different operating system on a system and any changes in the guest do not affect the files stored in the host. VirtualBox is supported on various OS platforms including Windows, Linux, Ubuntu, BDS, Mac and many more. Let us discuss how to install VirtualBox on Ubuntu in this post.
Contents
How to Install VirtualBox on Ubuntu?
There are three ways to install VirtualBox on Ubuntu:
- Through Ubuntu Software Manager
- Using Command-line
- Using Deb file
Also see how to install Ubuntu on VirtualBox.
How to Install VirtualBox Through Ubuntu Software Manager?
(1) Open your Ubuntu computer or desktop.
(2) On the Ubuntu desktop activities toolbar, click on the Ubuntu software icon.

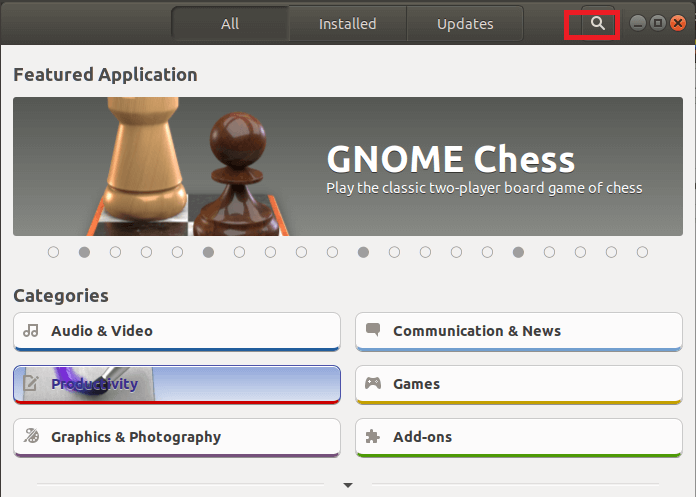
(3) The Ubuntu software manager will open on the screen. Click on the search icon.
(4) Type VirtualBox in the search bar. All the contents related to the search are listed below.
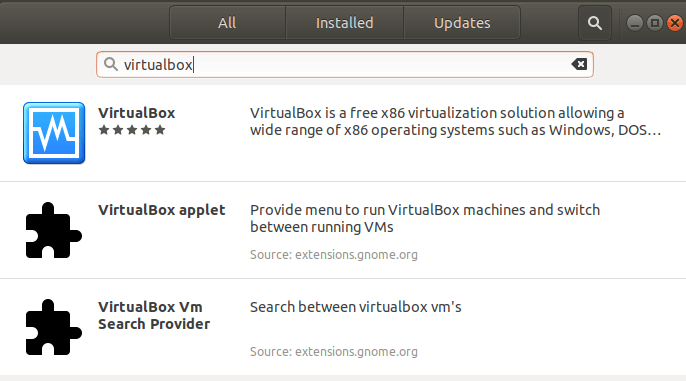
(5) Select the VirtualBox from the search result.
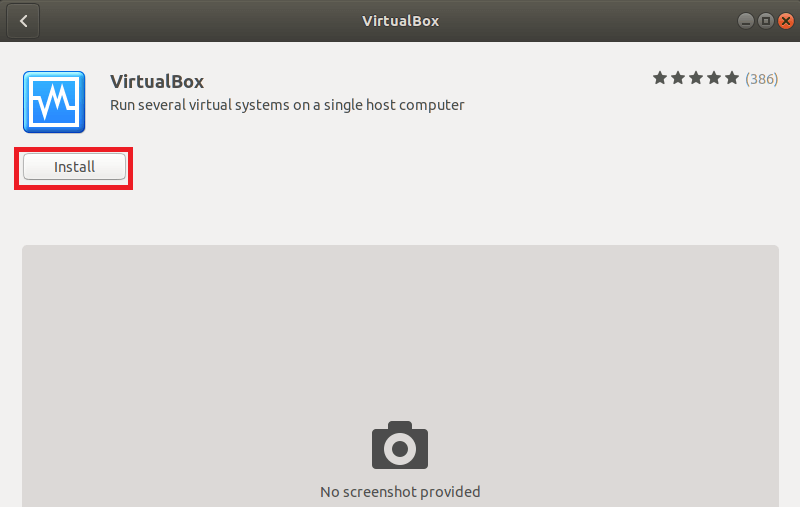
(6) Click on the Install button to start the installation process.
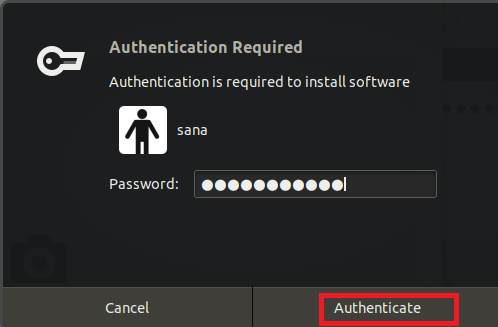
(7) Now the Authentication screen will open. Enter your password and click on the Authenticate button.
(8) After that, the installation process will begin.
(9) Once the installation is finished, click on the Launch button to get VirtualBox on your Ubuntu Operating System.

How to Install VirtualBox Using the Command line?
(1) Open your Ubuntu Terminal by using the keyboard shortcut Ctrl+Alt+D.
(2) Then enter the following command,
$ sudo add-apt-repository multiverse && sudo apt-get update
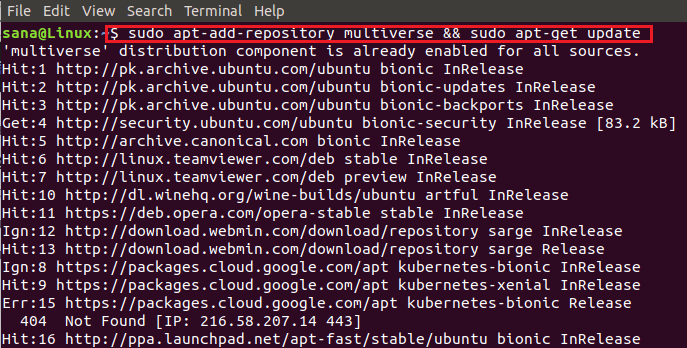
(3) You need to provide the password for the root after that the repository will be enabled on your system.
(4) Now you have to enter the following command to install the VirtualBox.
$ sudo apt install virtualbox
(5) The prompt will display with Y/n option. Type Y and press the Enter button to begin the installation process.
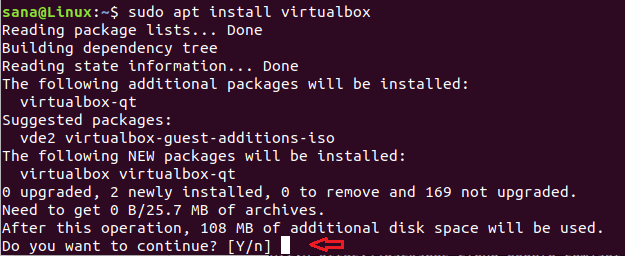
(6) Once the installation is completed, enter the following command to launch the VirtualBox on your Ubuntu device.
$ virtualbox
Now the VirtualBox will launch on your Ubuntu device.
How to Install VirtualBox using Deb file?
If you want to install the latest version of the VirtualBox, you may use the Deb file from the website. With the deb file, you can install any version of the VirtualBox to your Ubuntu device.
(1) Open the web browser on your device and visit virtualbox.org.
(2) Click on the VirtualBox download link for Linux.
(3) The selected version will be downloaded in the form of a Deb file.
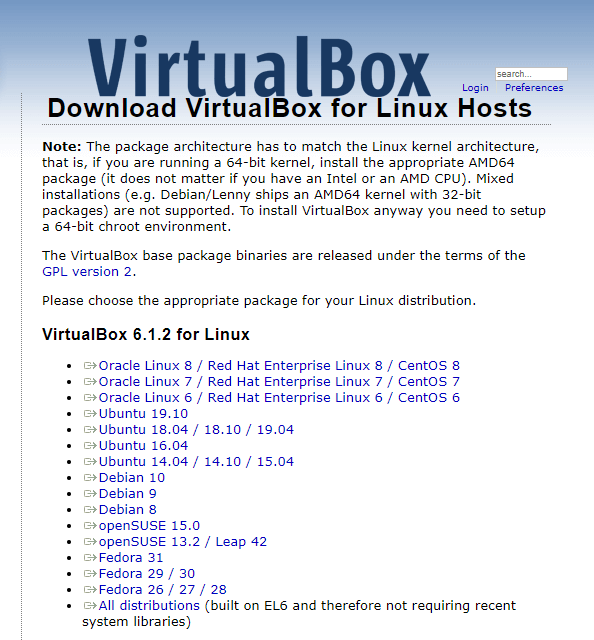
(4) Click on the Deb file from the downloaded folder using the File Manager on Ubuntu.
(5) Click on Install, the app will start installing.
(6) Once the app is installed, click launch to launch the app on your Ubuntu device.
Our Opinion
The above are the three different methods to install VirtualBox on Ubuntu. You can follow any of the three methods to install it. If you want to uninstall VirtualBox on Ubuntu, then you can either do it from the Ubuntu software centre or using the command line to uninstall apps. The above methods will work for different versions of Ubuntu servers including Ubuntu 19.10, Ubuntu 18.04, Ubuntu 16.04, Ubuntu 19.04 and other versions like Ubuntu 14.04.
If you have any queries, comment it in the section below. Stay connected with us on our social handles Facebook and Twitter for more updates.


