Nintendo Switch is a popular video-gaming console which gives you unique gaming experience. Apart from gaming, you can also use this console to stream videos. Whether you want to play games or to stream videos, you need to the set up your Nintendo Switch once you’ve purchased it from the retail stores or online shopping sites. Setting up the Nintendo Switch is a lengthy process and will take some time to complete.
Steps to Set up your Nintendo Switch
While setting up the Nintendo Switch for the first time, you have to start without using the docking station. Because you need to go through a few introduction steps before using it.
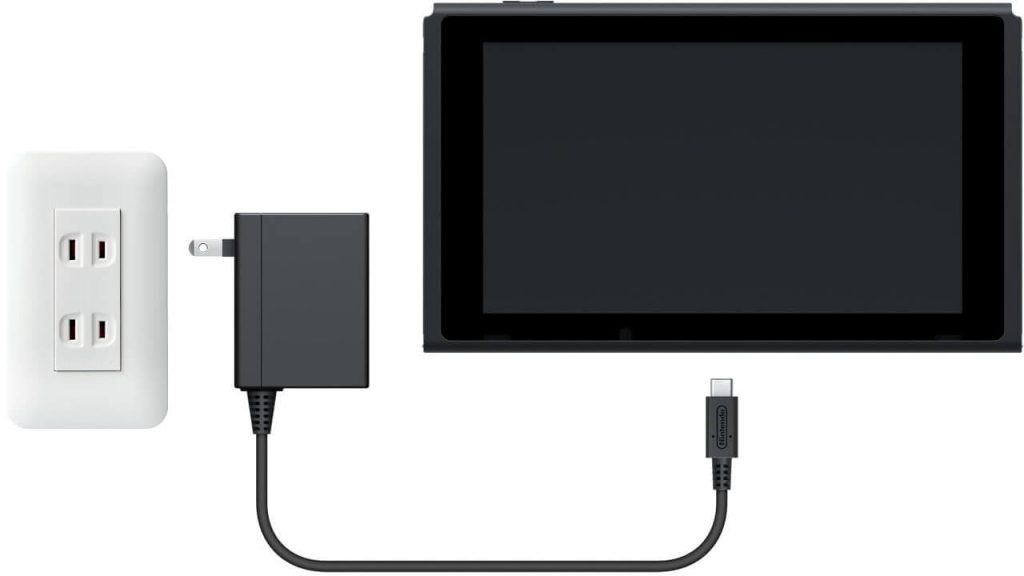
Step 1: Connect the AC adapter to the power source and USB end to the Nintendo Switch. The port will be available on the bottom of the console.
Step 2: Switch on your Nintendo Switch with the help of the power button located on the top.
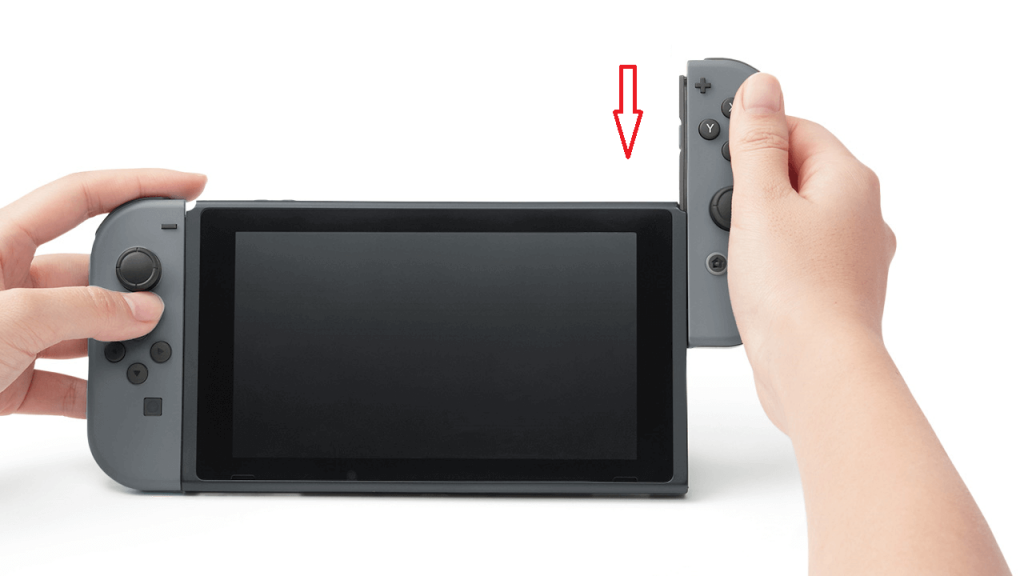
Step 3: Now, attach the both Joy-Con controllers on your console.
Step 4: Select your Language.
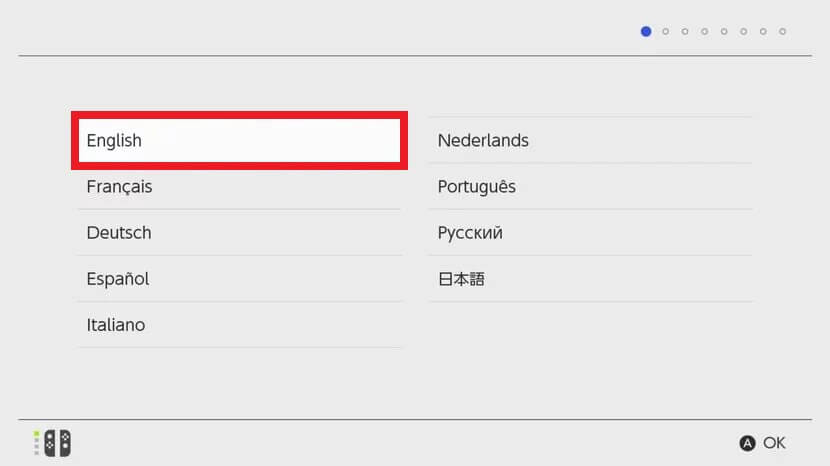
Note: Press the A button on your right-side controller to confirm the selection.
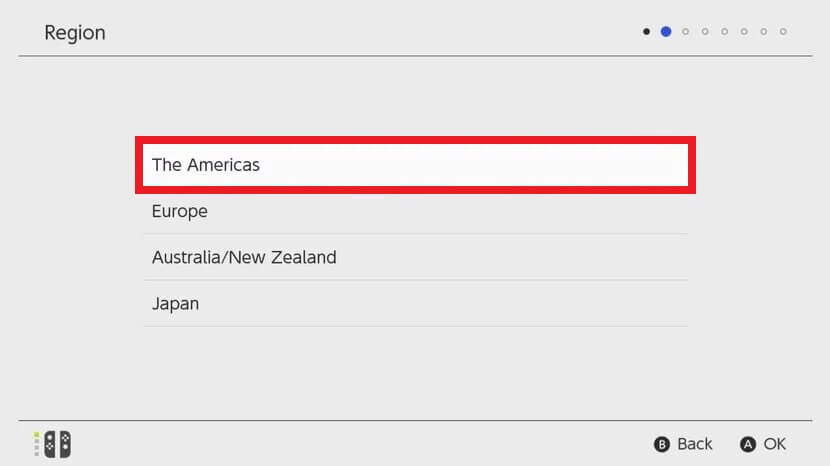
Step 5: Select the location where you’re residing.
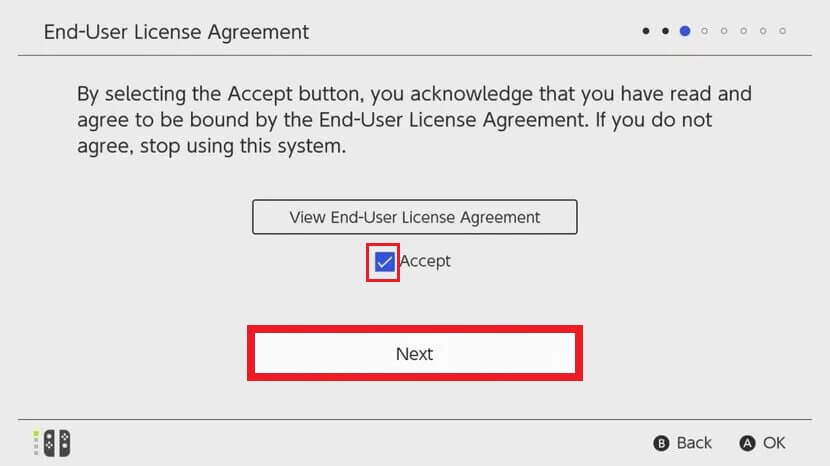
Step 6: On the next screen, select Accept to agree with Nintendo’s End-User License Agreement and click Next to proceed further.
Step 7: The console will search for the nearby Wi-Fi connections. Select the network which you want to use and enter its respective password.
Step 8: Select OK once your console was connected to the internet.
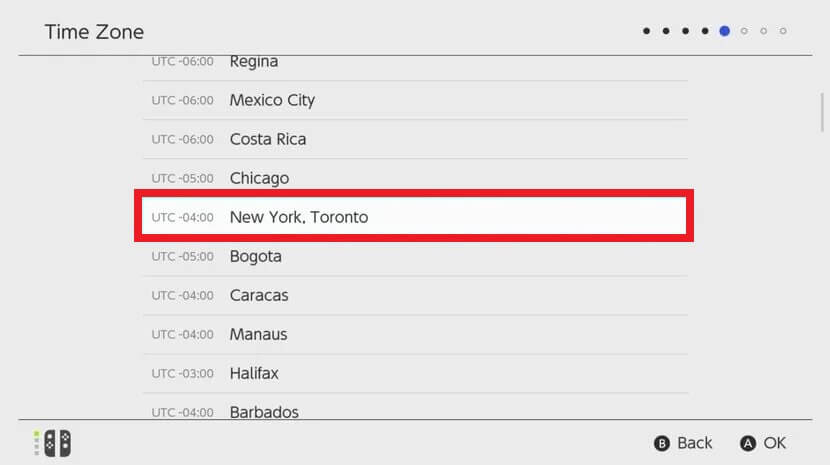
Step 9: Now, select your time zone and press the A button.
Step 10: Select the Connect to TV to set up the console for your TV.
Step 11: Detach the Joy-con controllers from your console and then select Next.
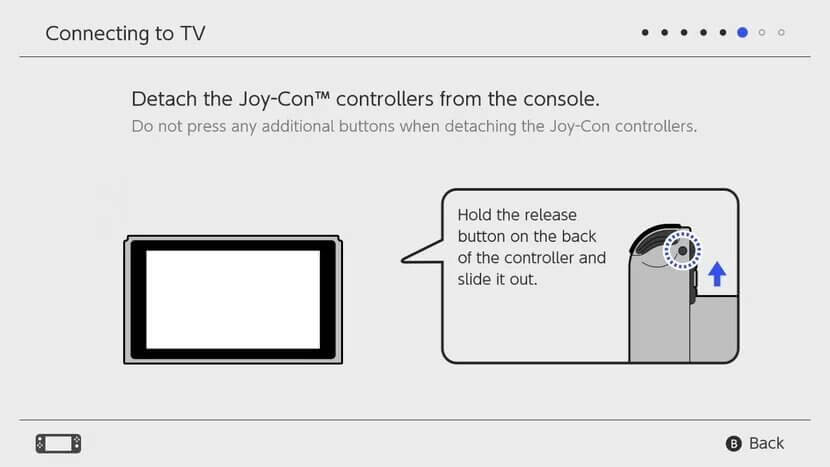
Step 12: Again, select Next.
Step 13: Connect the docking station to your TV with the help of HDMI cable. Also, connect your dock to the power source with the help of an AC adapter.
Note: Disconnect your Switch and AC adapter, if connected.
Useful links:
- How to Reset Nintendo Switch [With & Without Losing Data]
- How to Restart Nintendo Switch to Fix Errors
Step 14: Place the Switch on the dock and power on your TV.
Step 15: On your TV, change the source option to HDMI.
Step 16: The procedure to connect the Nintendo Switch with your TV will appear on the screen. Select Next.
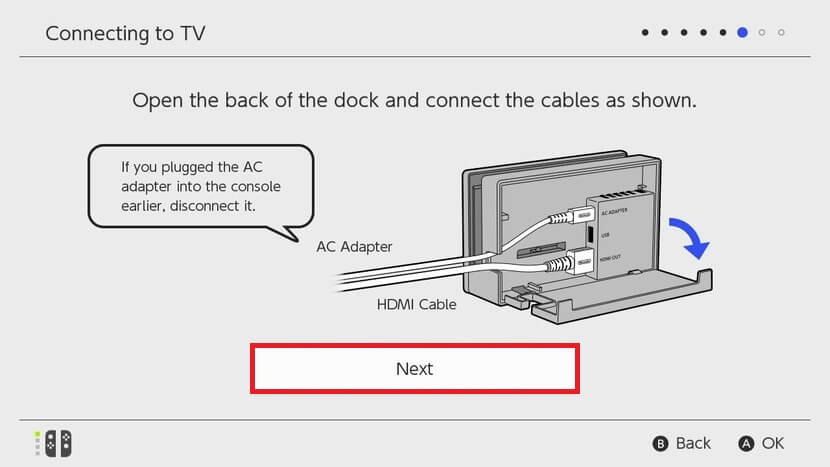
Step 17: Select Success if you made the connections correctly.
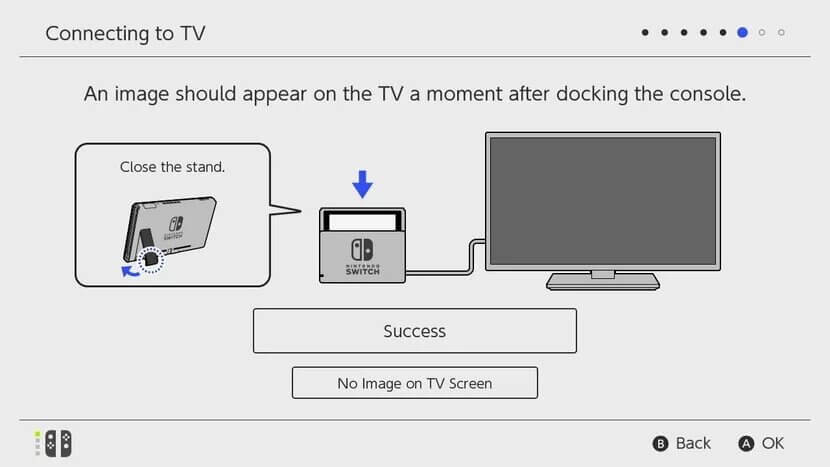
Step 18: Now, the Nintendo Switch will ask you to create a user ID. Click Next to create it.
Step 19: Select a display picture for your account.
Note: Select More Options for more icons.
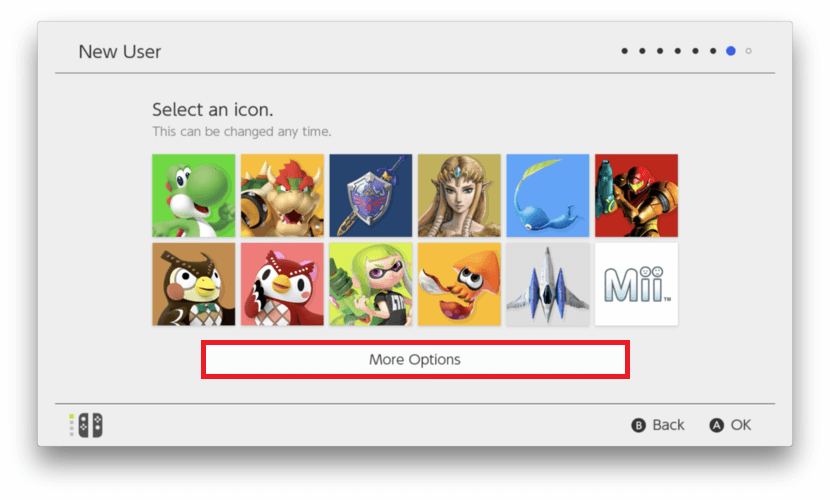
Step 20: Enter a nickname for your account and select OK.
Step 21: Again, select OK to proceed further.
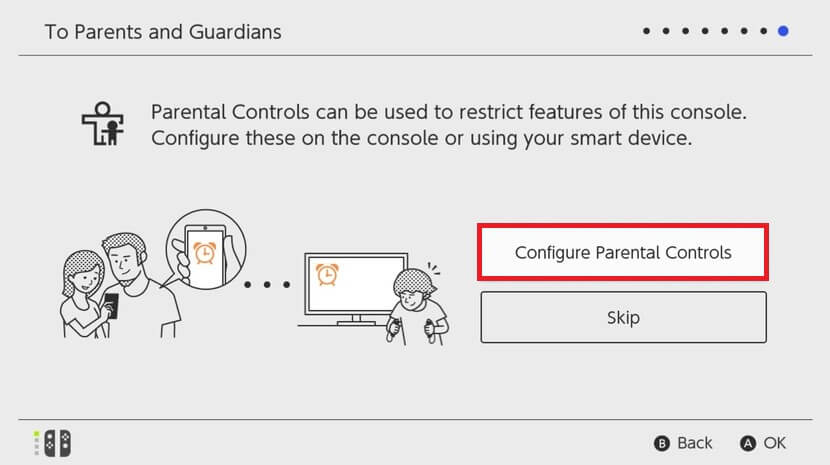
Step 22: Tap Skip to complete the setup process or select Configure Parental Controls to enable parental controls.
Note: You can also configure parental controls from the settings.
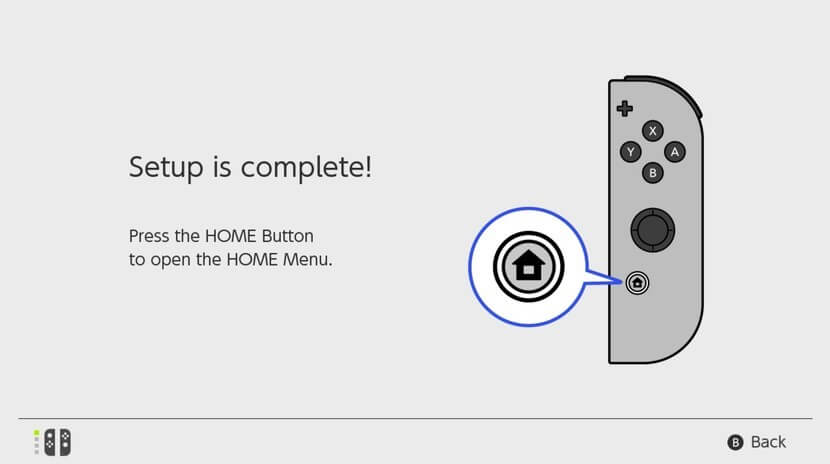
Step 23: Once the set up is completed, click the Home button on your right side of the Joy-Con controller. Now, the home screen of Nintendo Switch will appear on the screen.
Note: Nintendo Switch Lite users can follow the same steps to set up their gaming device.
If you got any trouble while setting up the Nintendo Switch, mention it in the comments section. We will help you to fix that. You can also raise your queries through our Facebook and Twitter profiles.
